August 9, 2016
Toronto's Zoo, Day 4
This is the fourth day of a photographic journey in the city of Toronto, Canada.
photo
travel
zoo

I am not usually appealed by zoos, or maybe I just don’t think about visiting them. This time, the visit of Toronto Zoo was included in our CityPasses and since the last time I paid a visit to caged animals was years ago, we said “let’s give it a try!”.
From our hotel in Pembroke Street, we had to drive east along Don Valley Parkway and the Ontario 401 Express for about an hour. Then, a wide green no man’s land with a parking it the middle – not free. From the inside, the water games, gift shops, and cartoonified-everything make it look very much like a theme park! Zoos have changed since my last visit!
The map in hand, we understood animals are grouped by continents: Indo-Malaya, African Savana, Canadian Domain, Americas and Eurasia. The inscription “Around the world: 3h” in the margin made it look like a morning walk compared to our last days. Except we didn’t first understand the “full loop” was not “the world tour”, it came to us only after walking 8 consecutive hours. We left our legs there, but we’ve seen all the path!
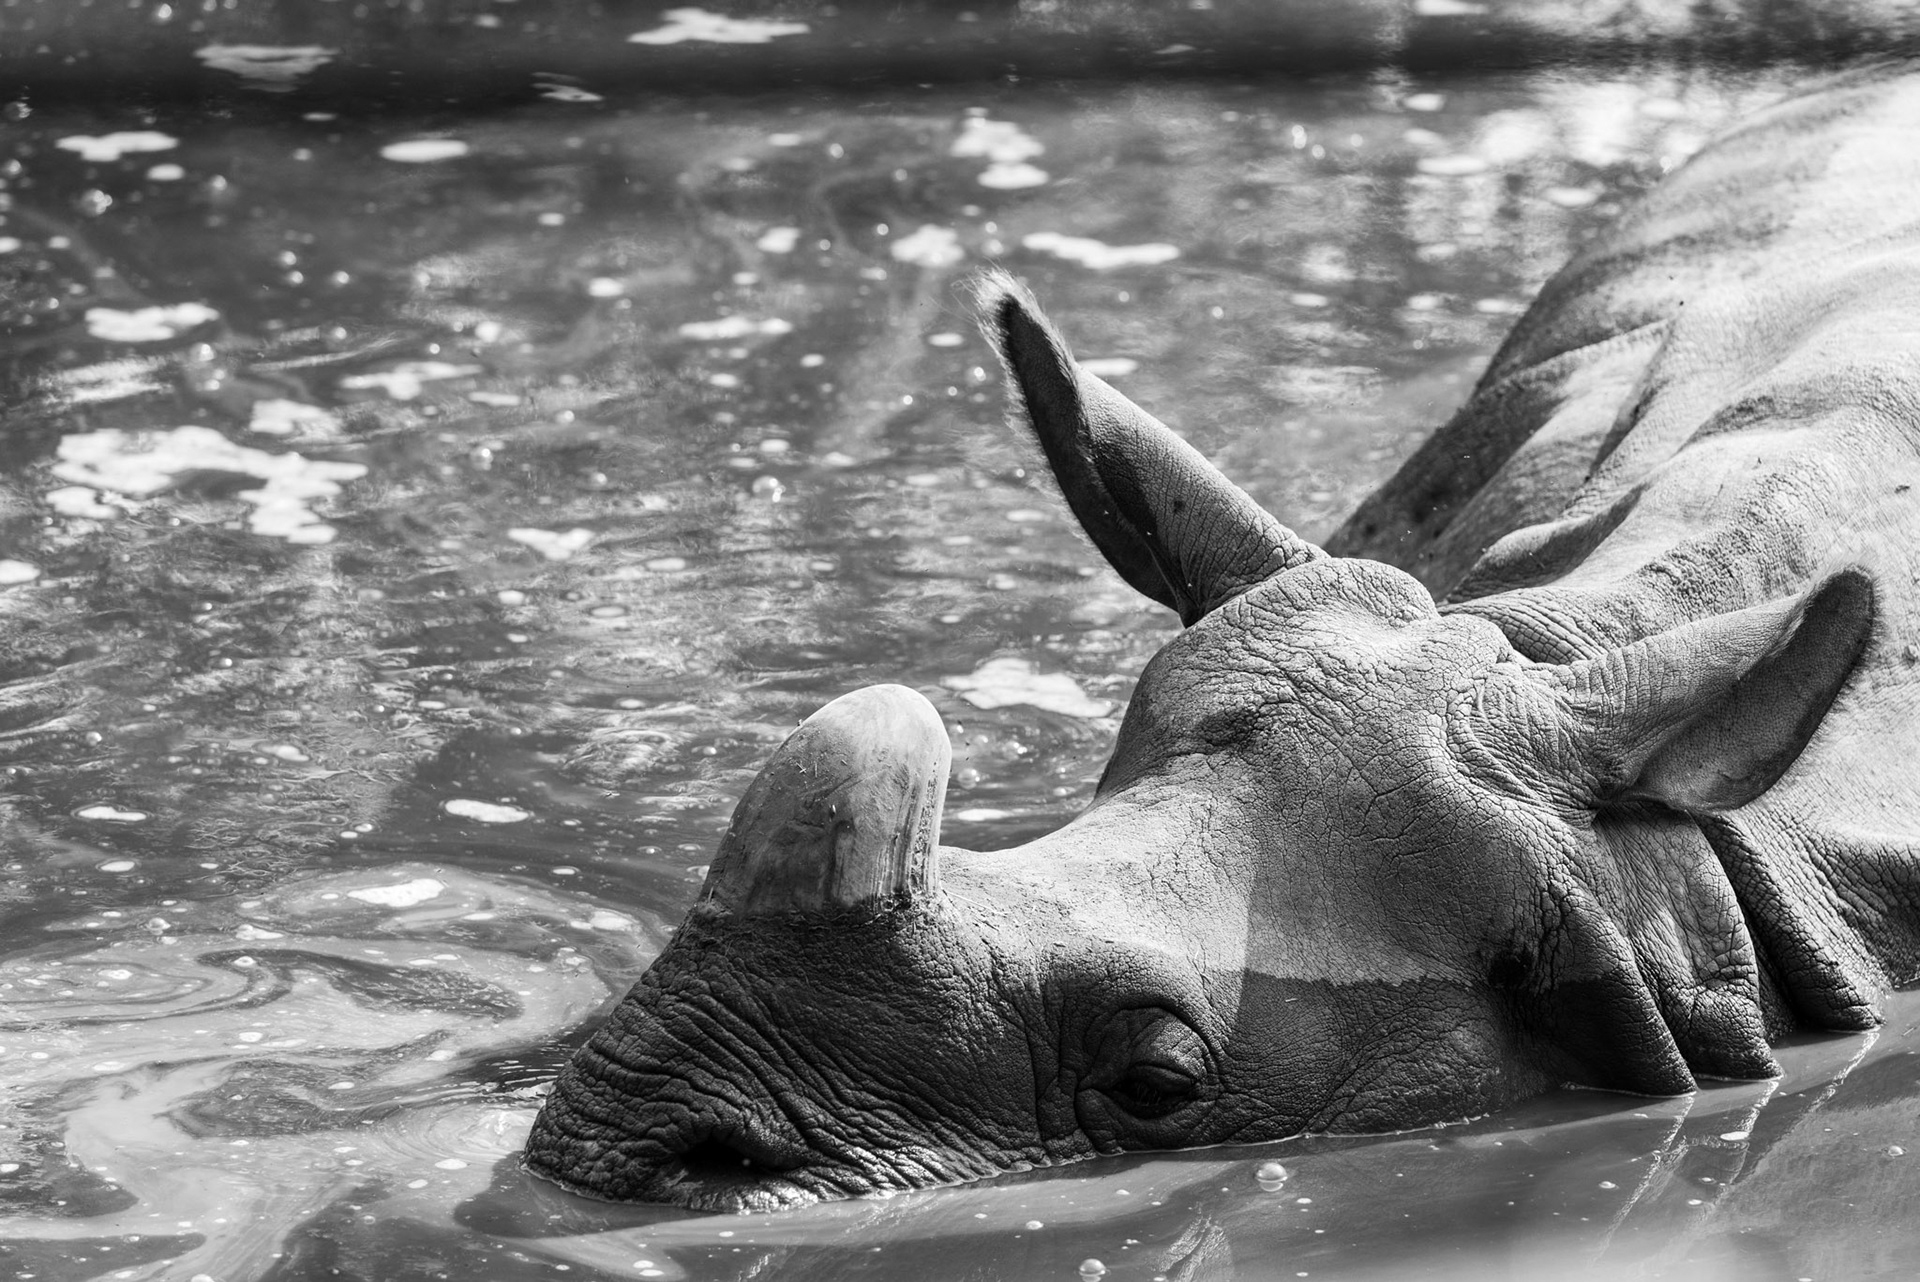
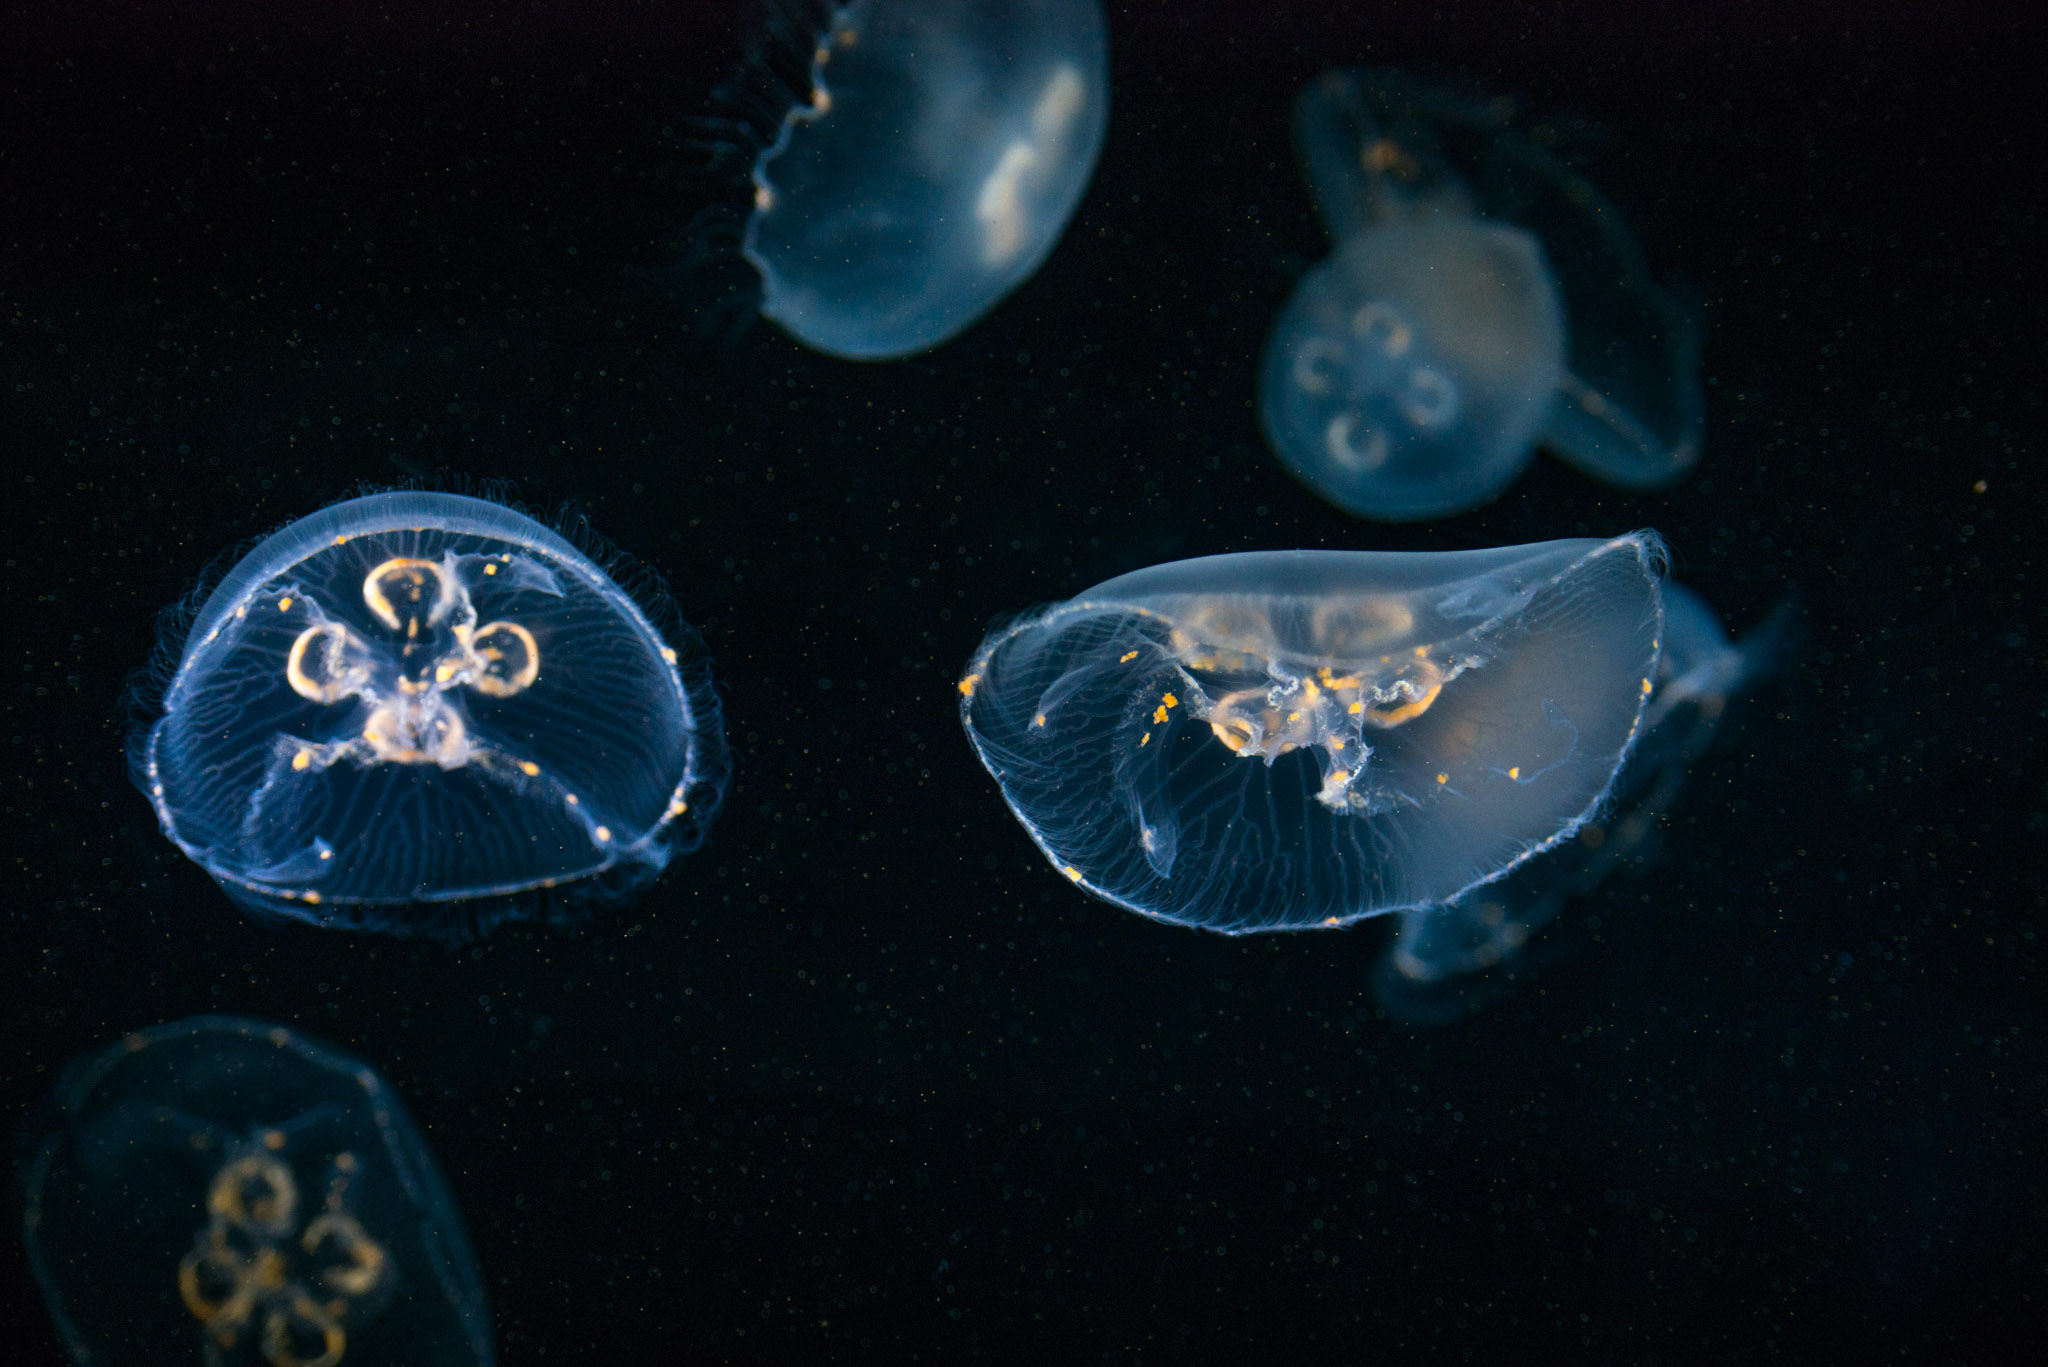
Visiting a zoo reminded me why I do not usually visit zoos: I like animals and I like to see them in their habitats. We’ve seen eagles with barely enough space to spread their wings, apes sat on plain concrete chewing empty plastic jars, kids pointing their smartphone LEDs right to the leopard's eyes. That was saddening.


Behind the lens
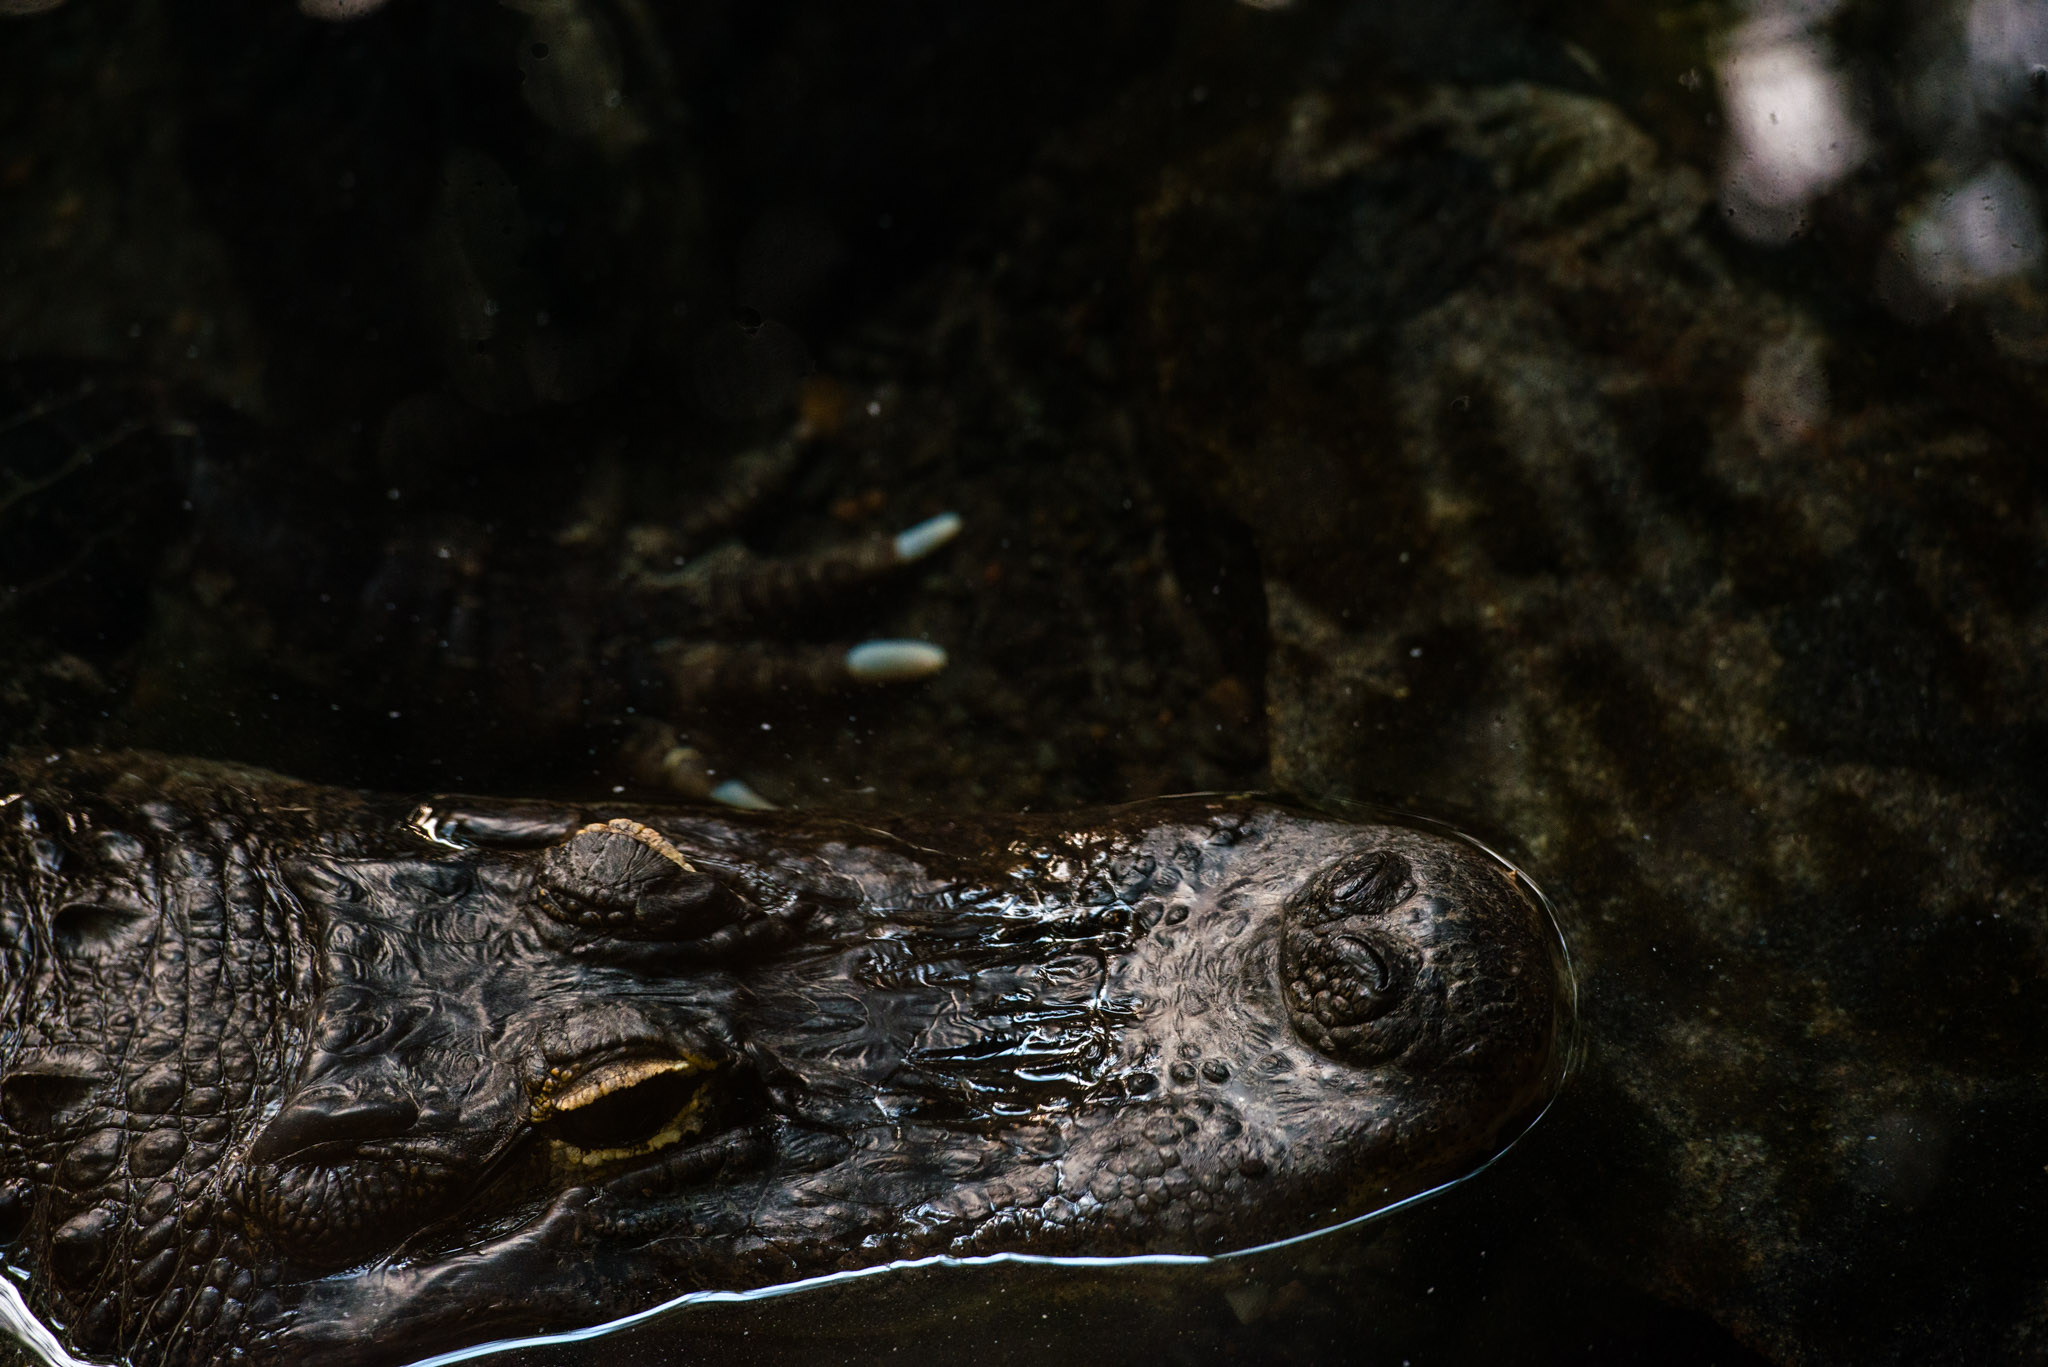
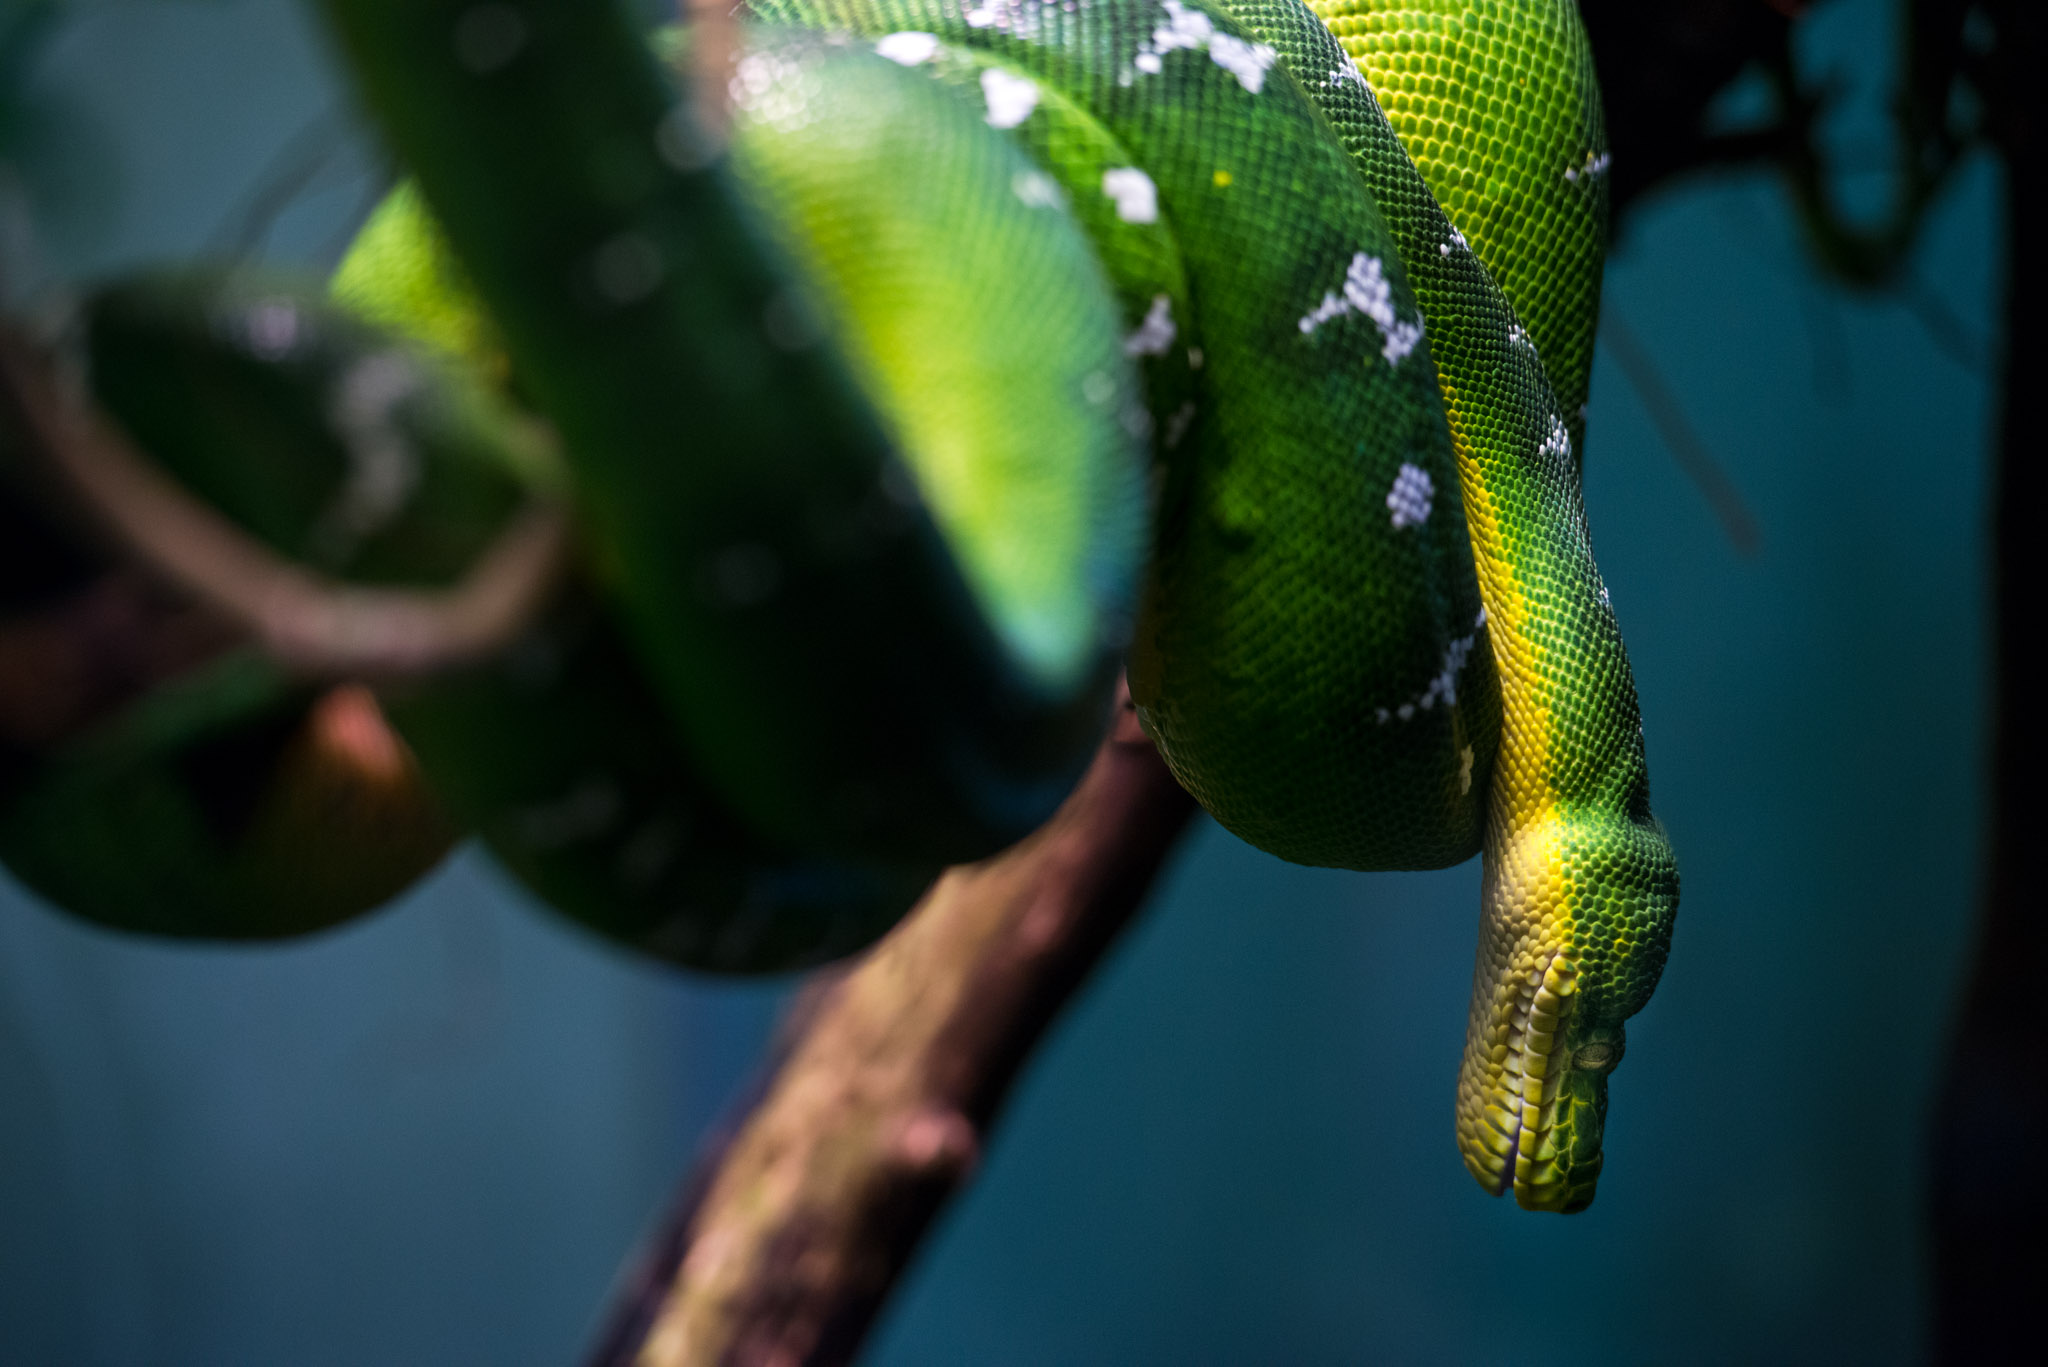
I am not familiar with wildlife photography, involving hours of tracking with a heavy 600mm lens on my shoulder. But since it’s not wild per se, I judged my 70-200mm should give me some good results. On the contrary, the wide angle lens was more like a dead weight in the bottom of my bag. Because of the distance to the animals, I hardly go interesting details at 35mm, but his is mostly due to my interest in texture.
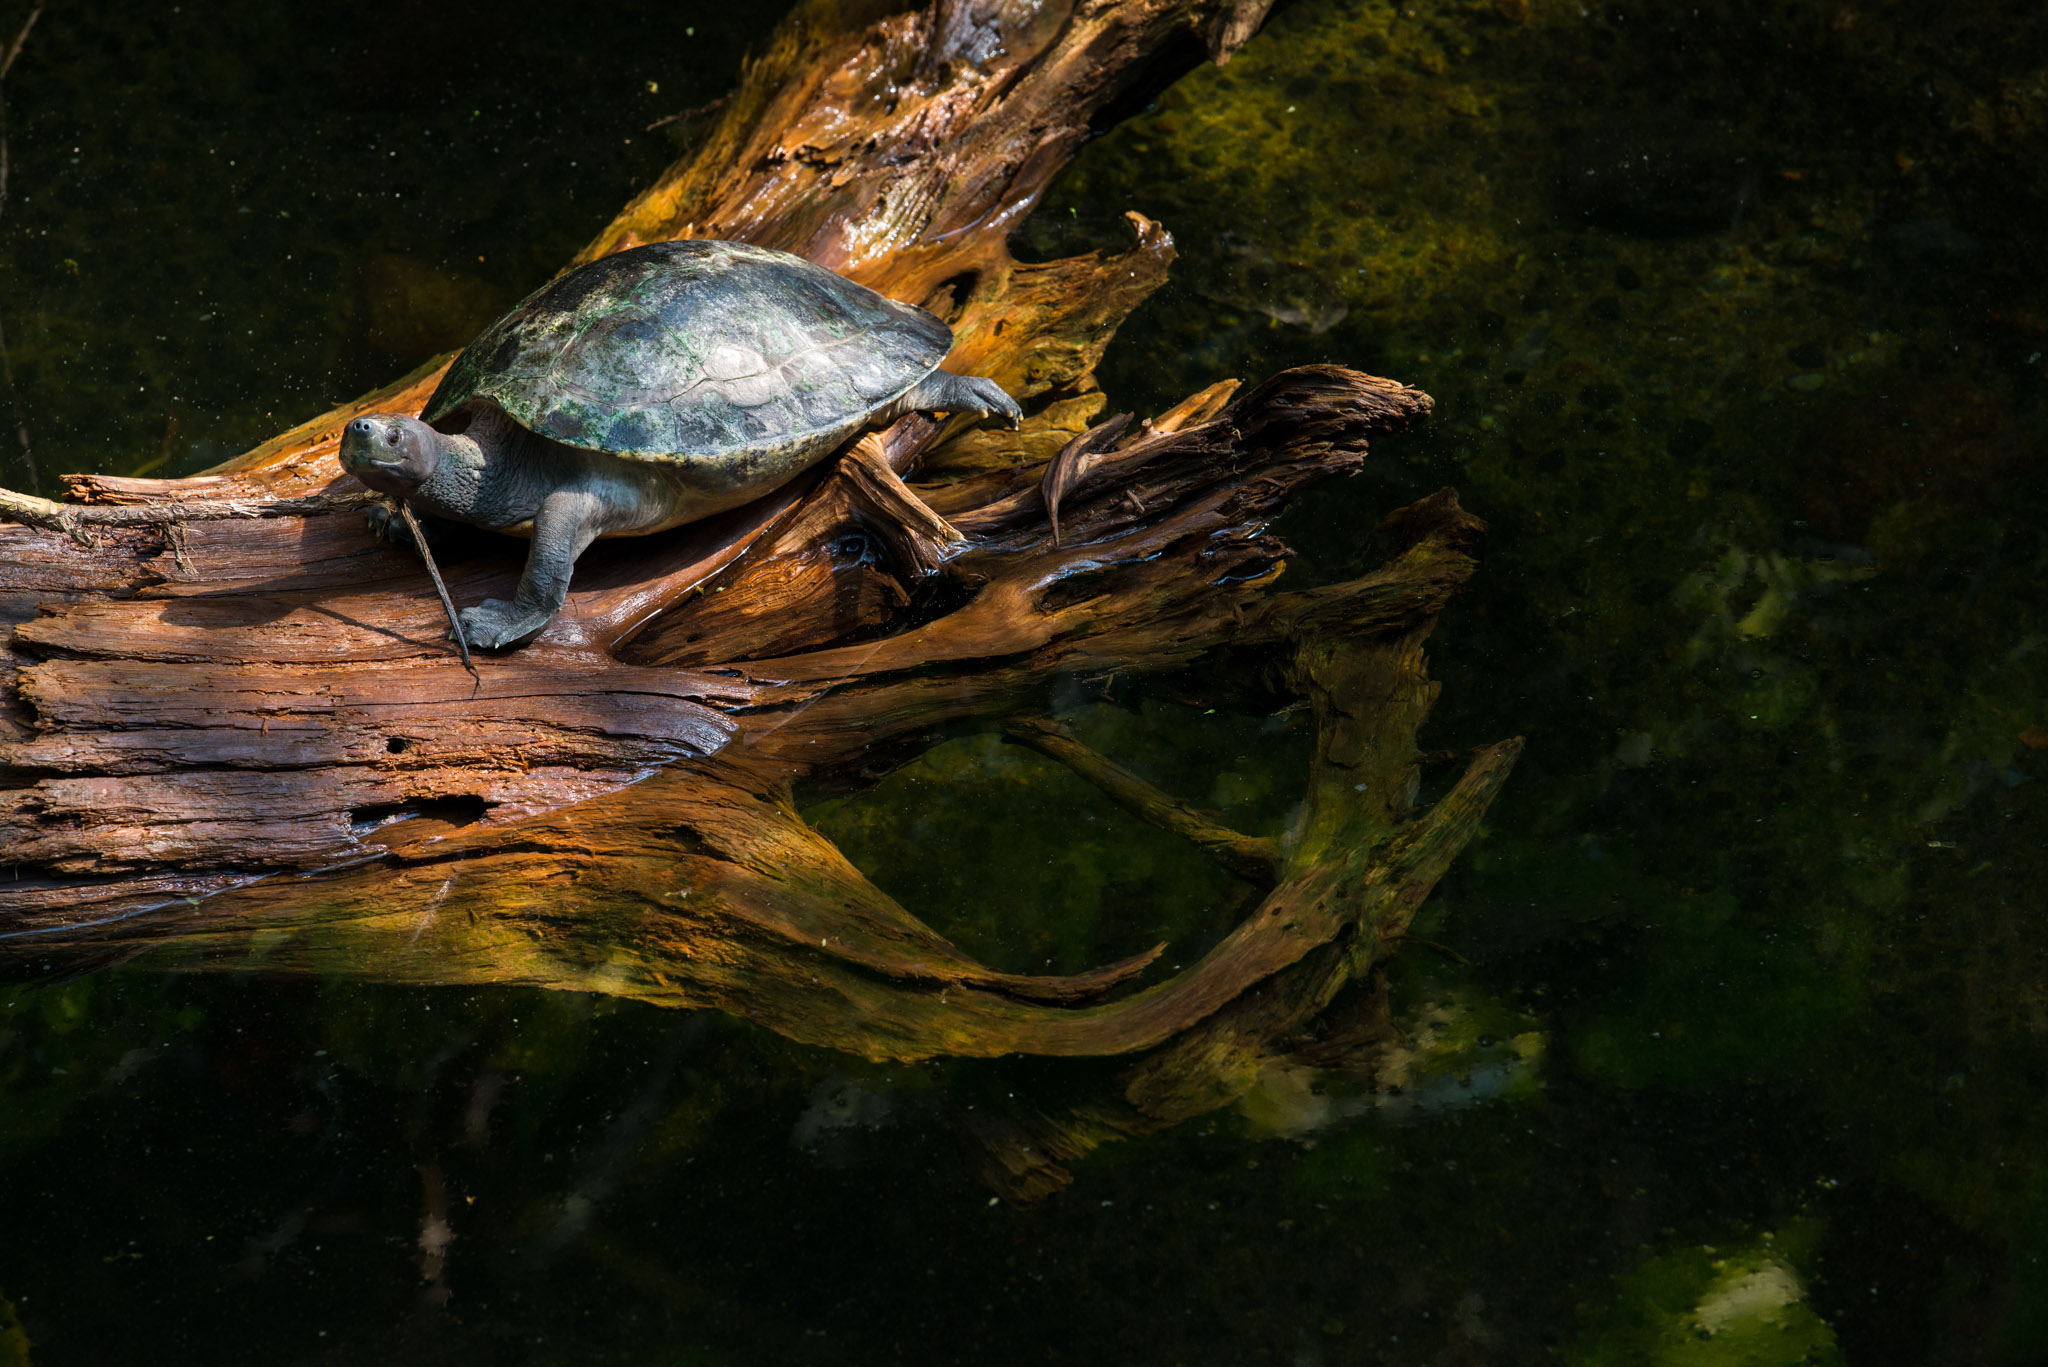
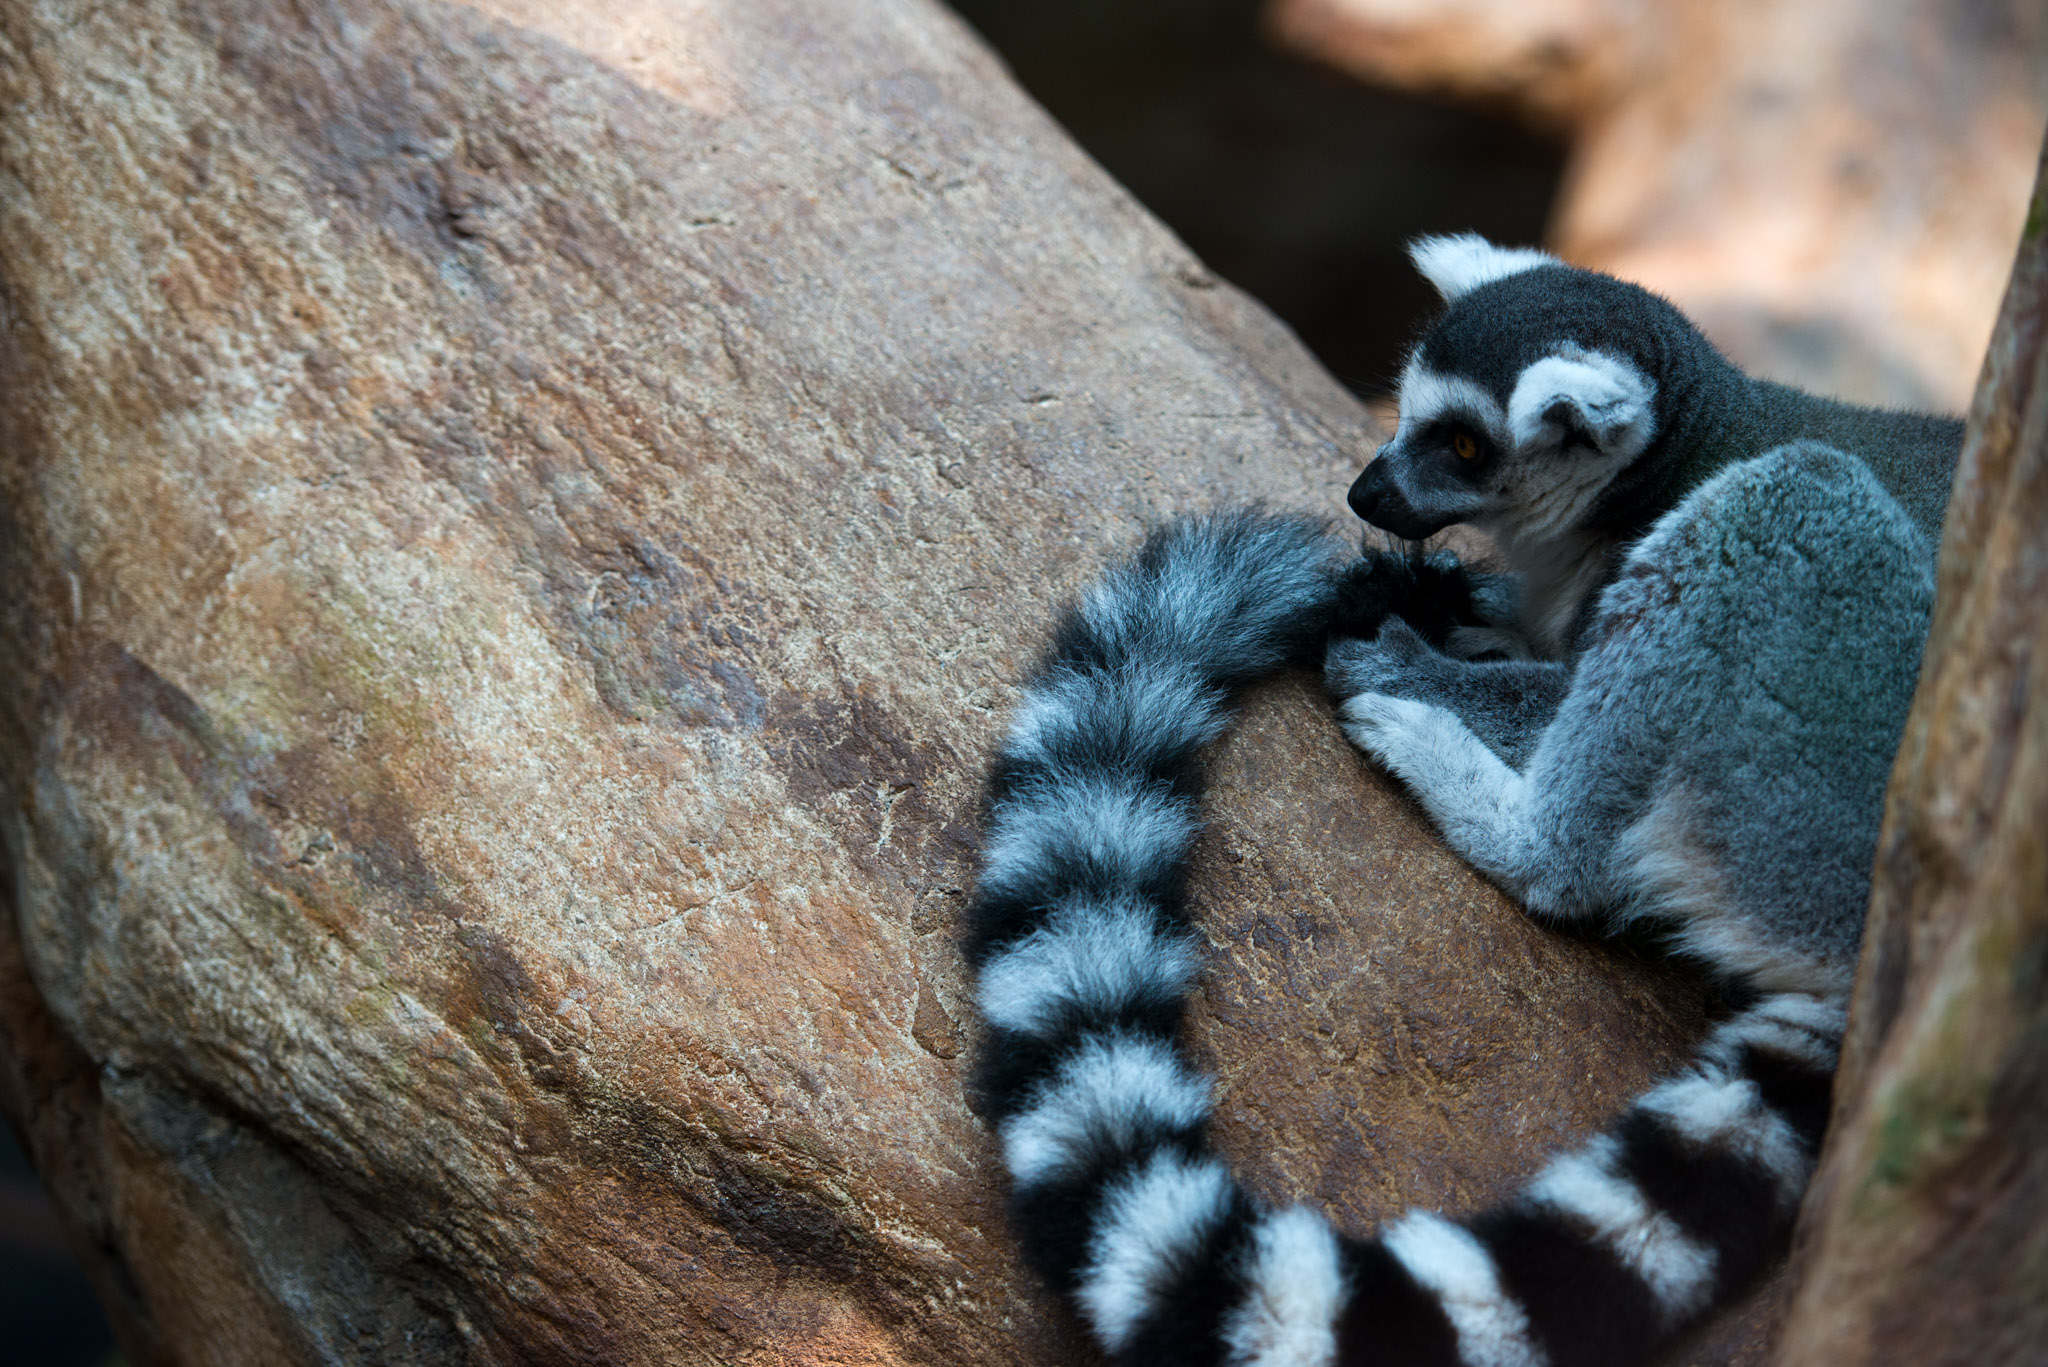
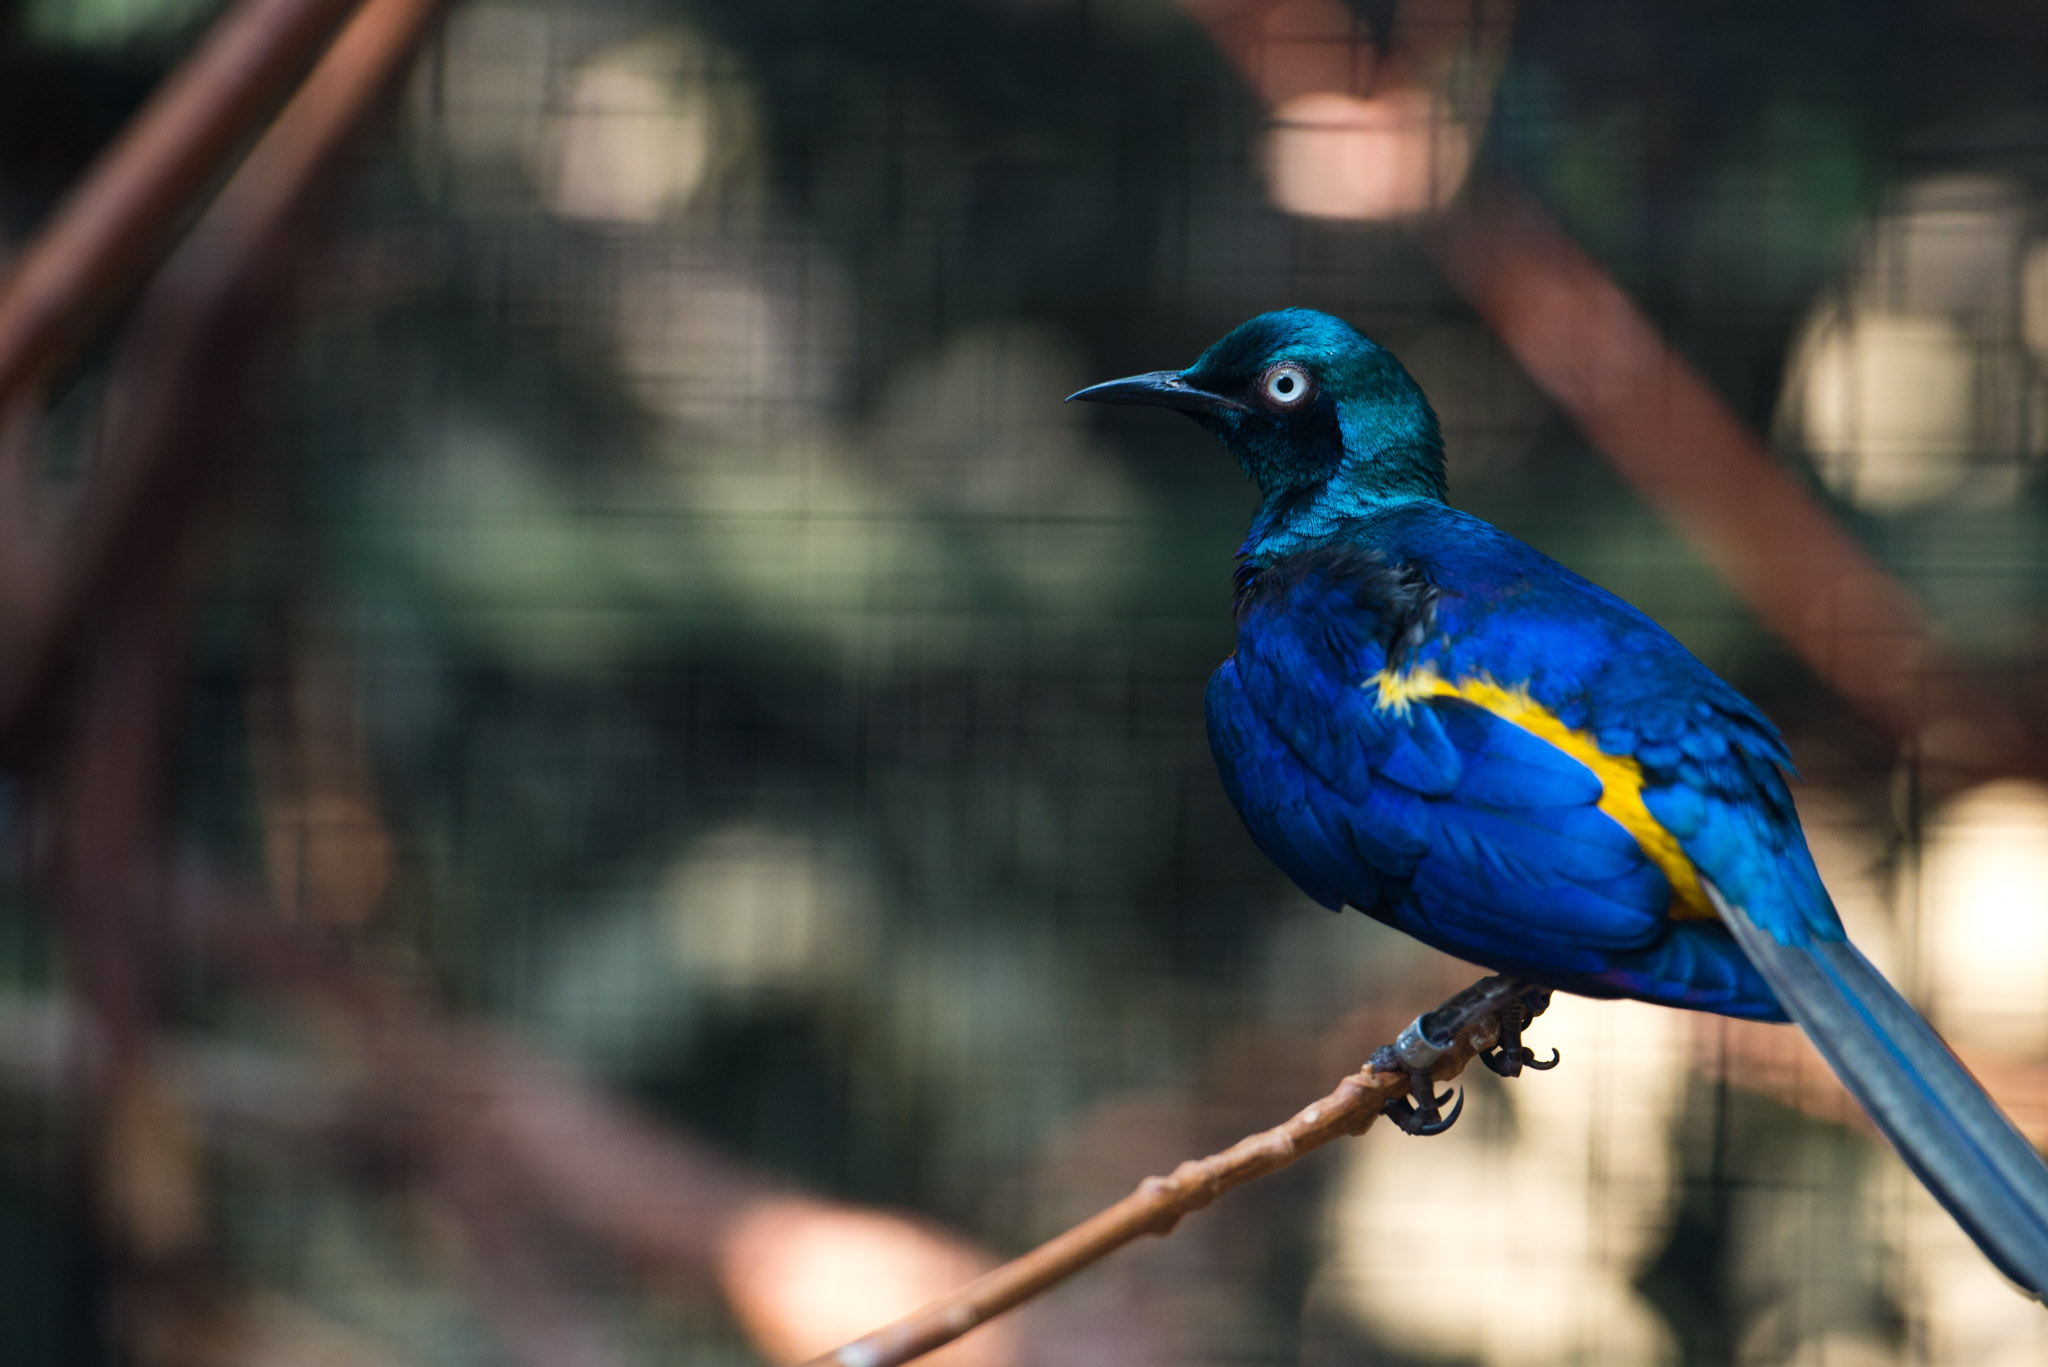
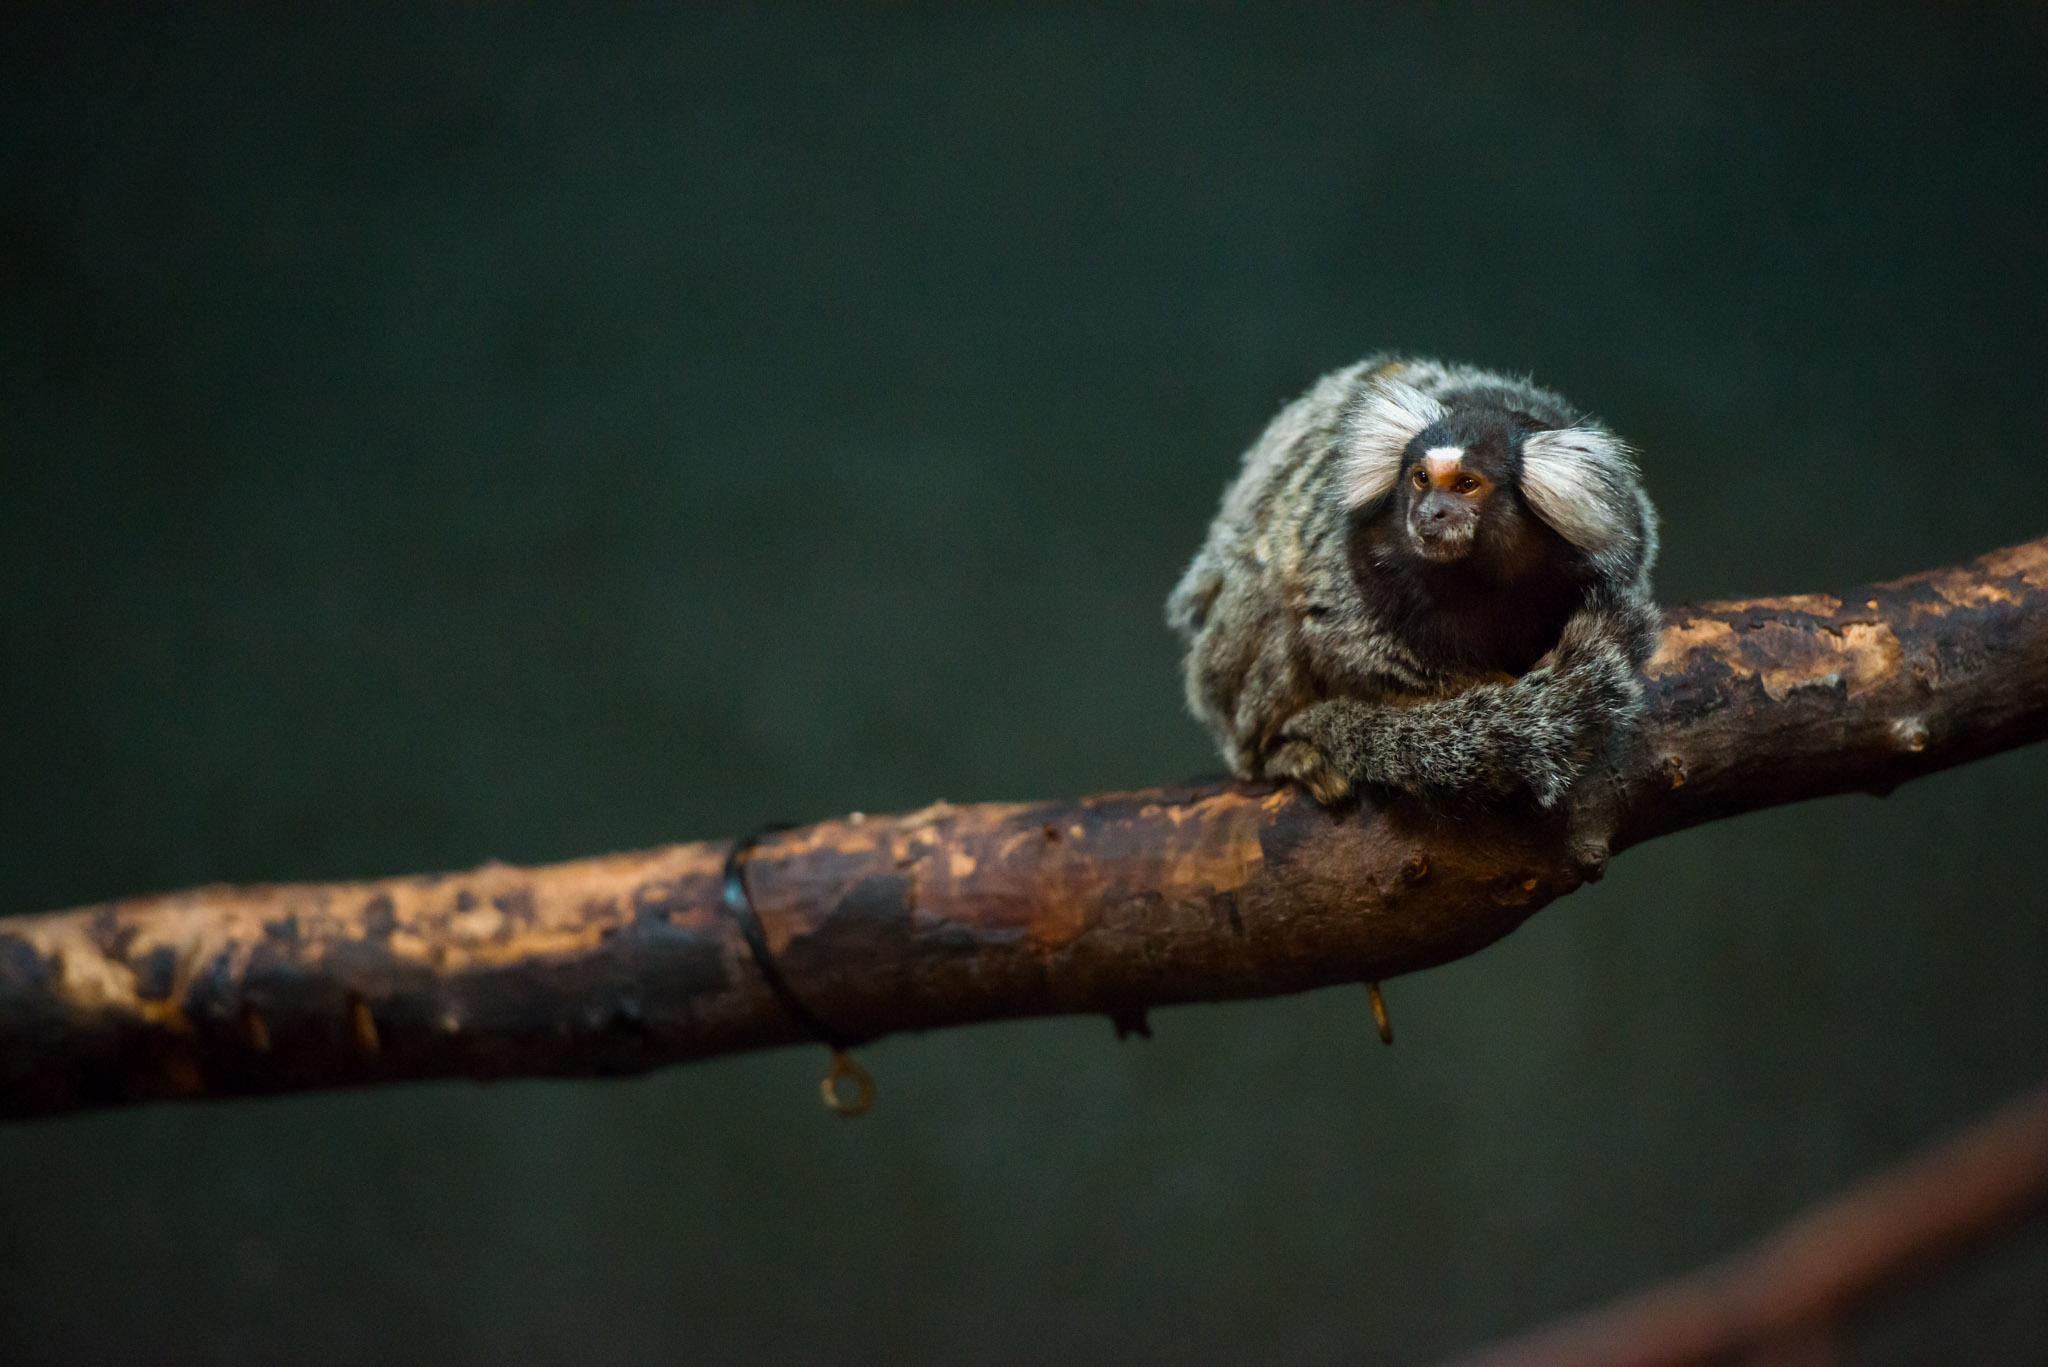
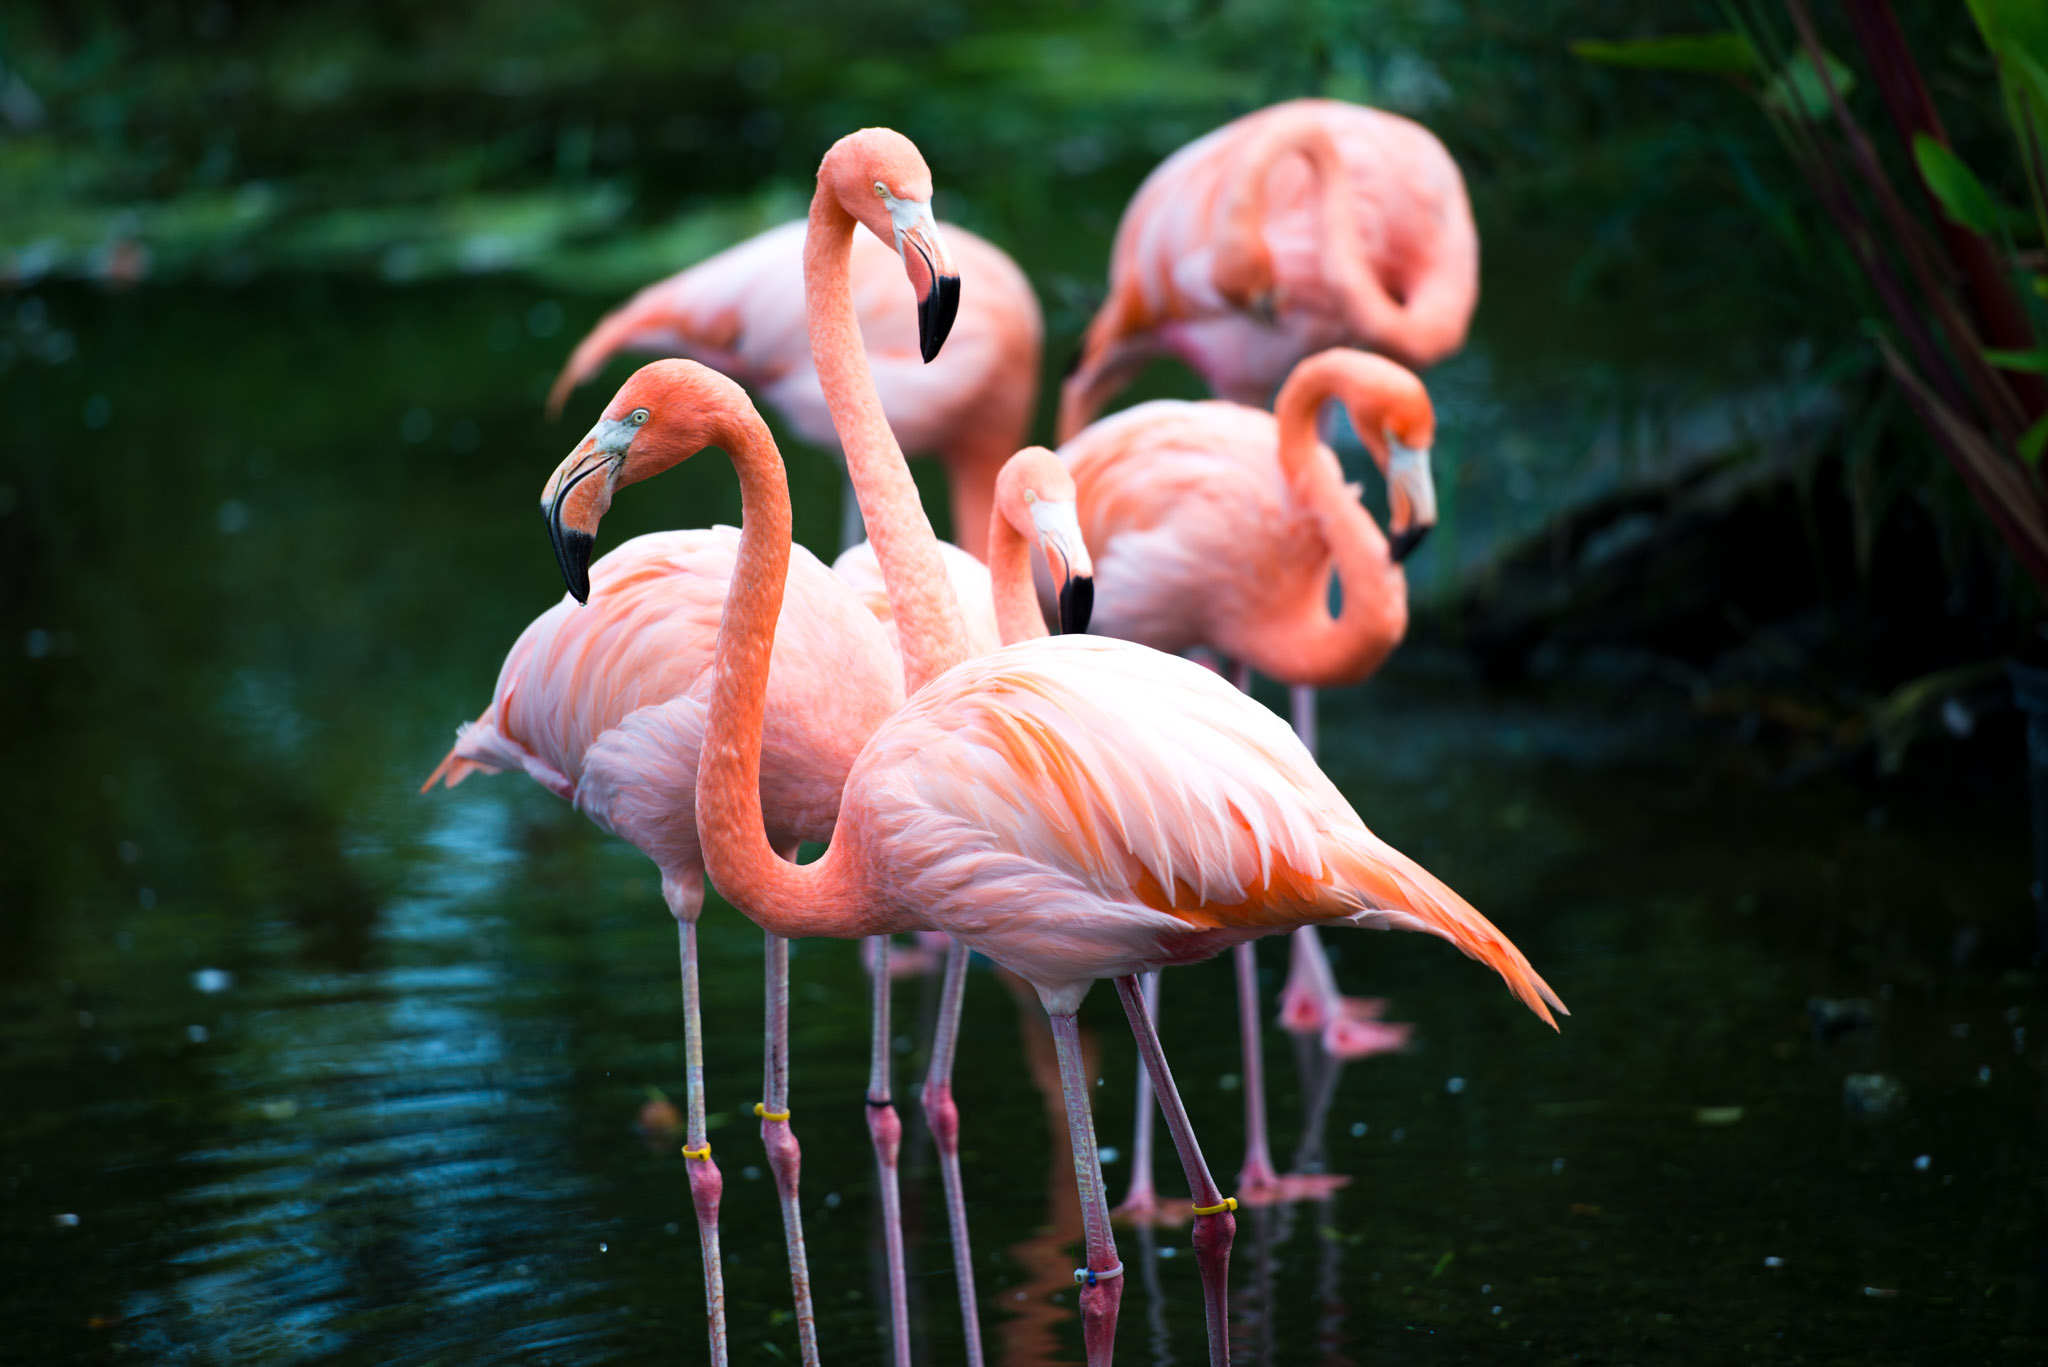
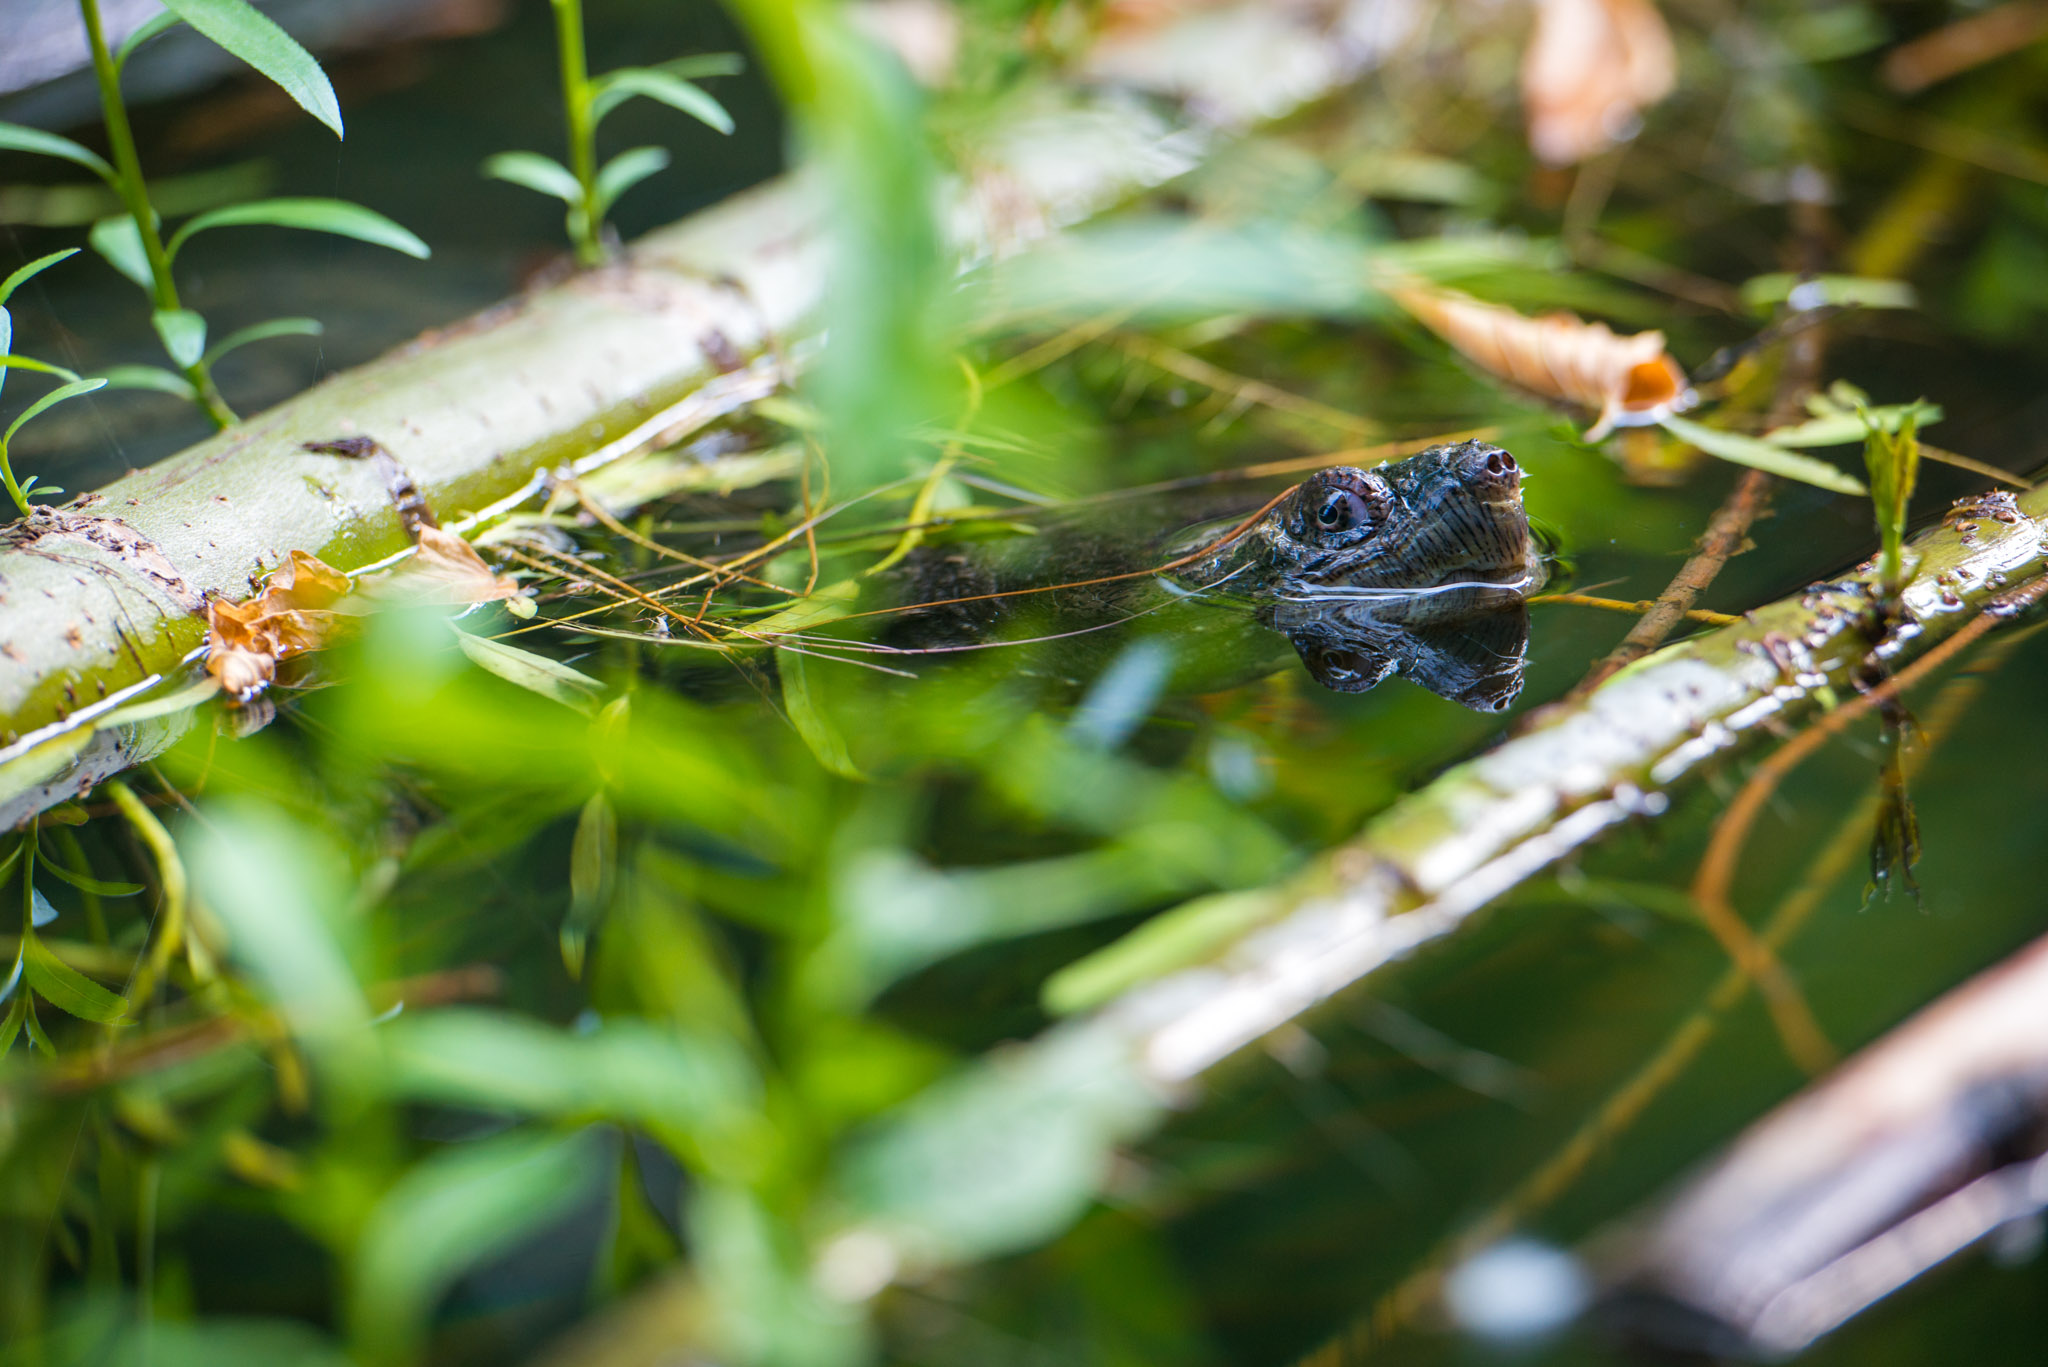
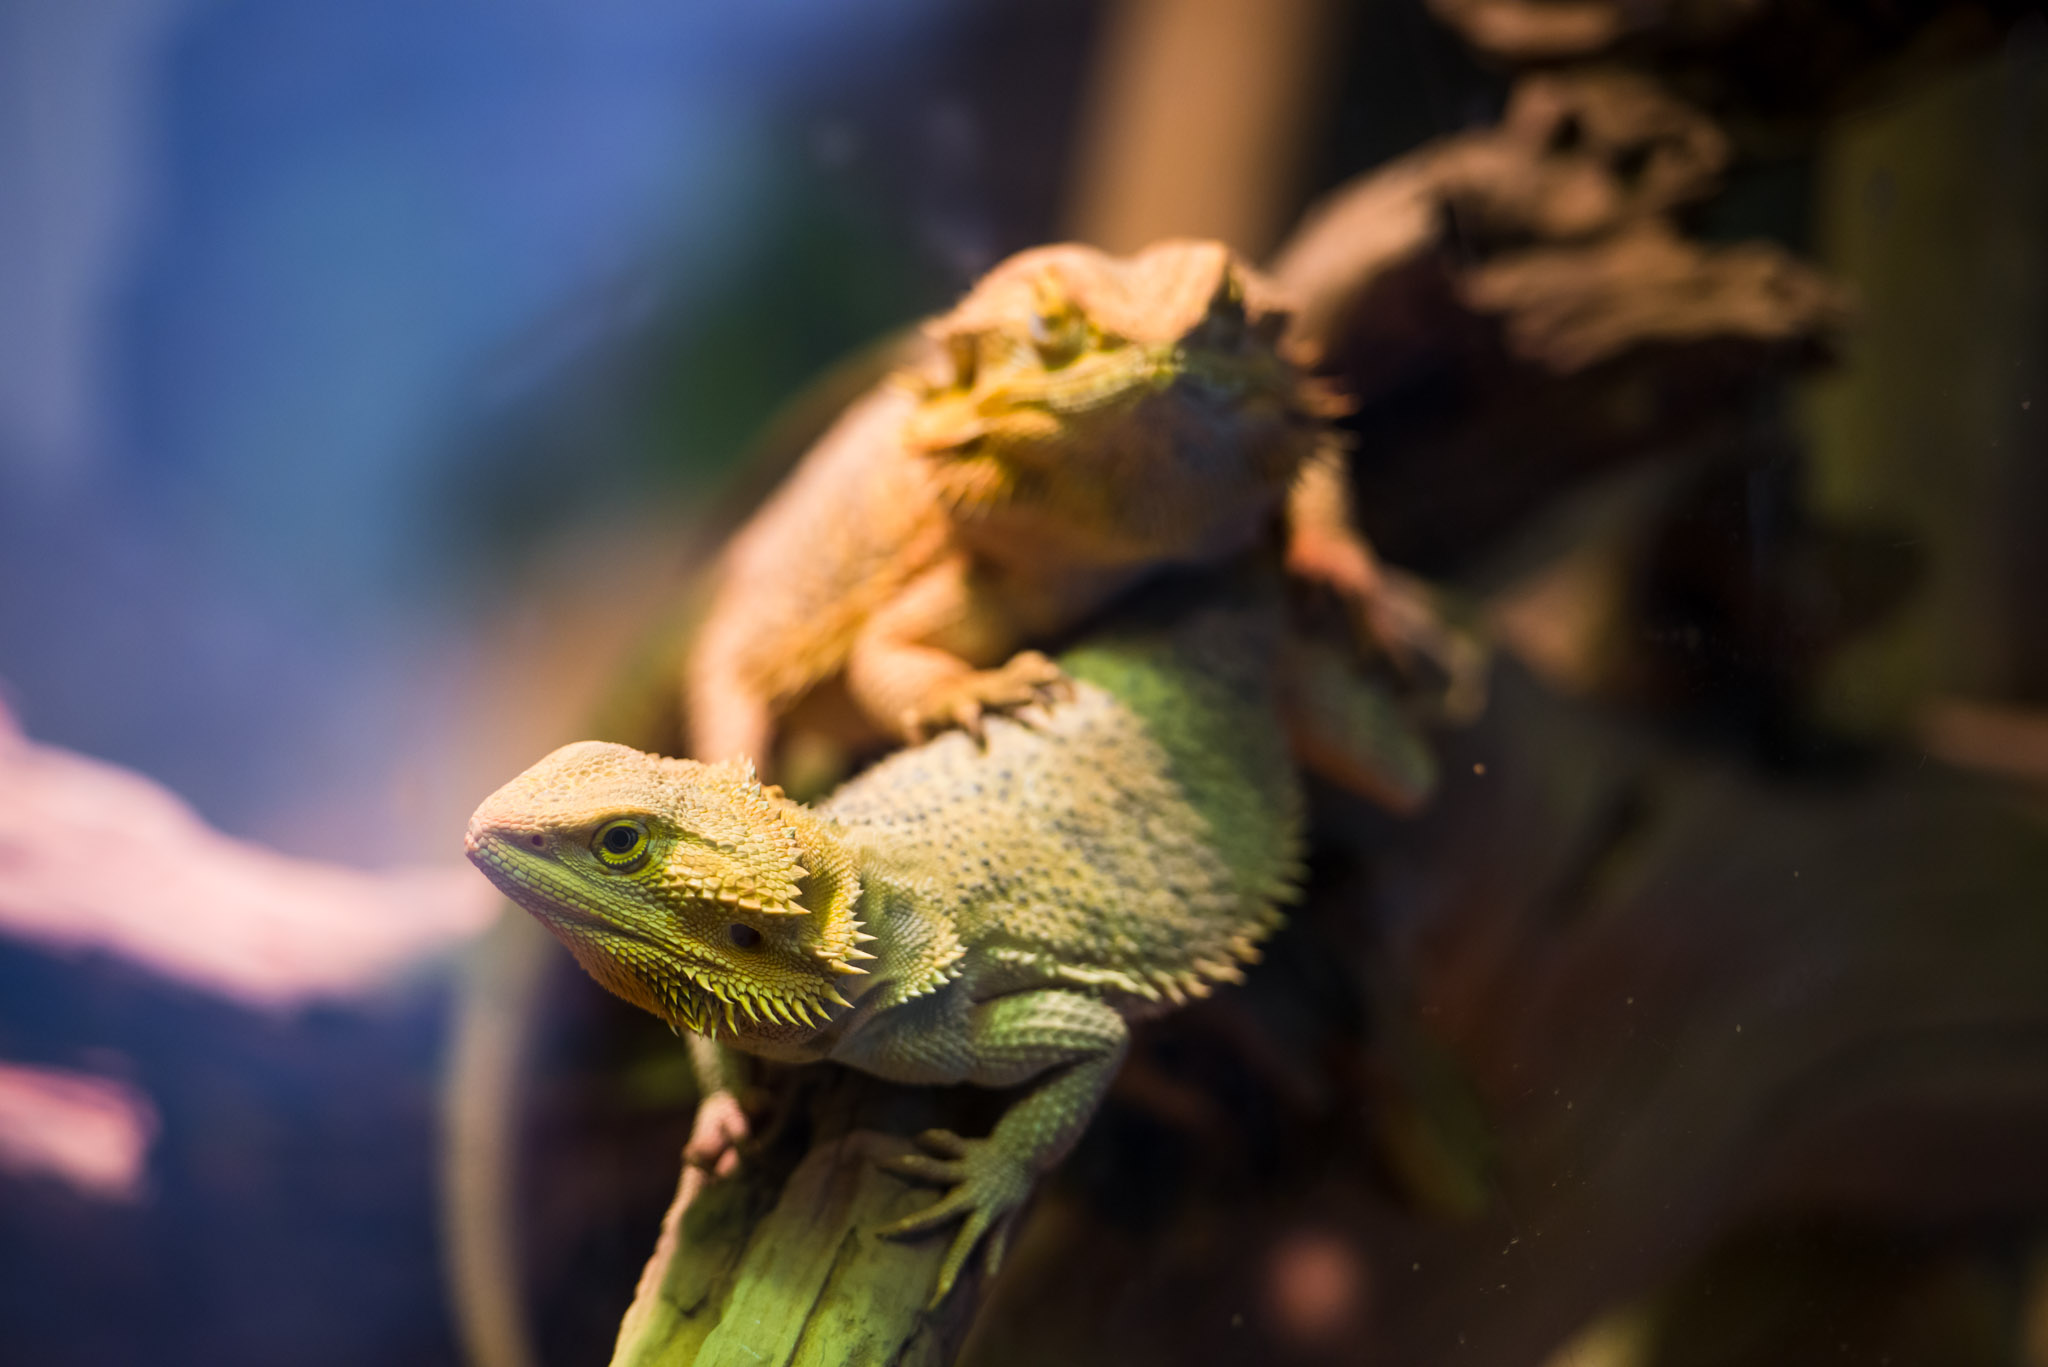
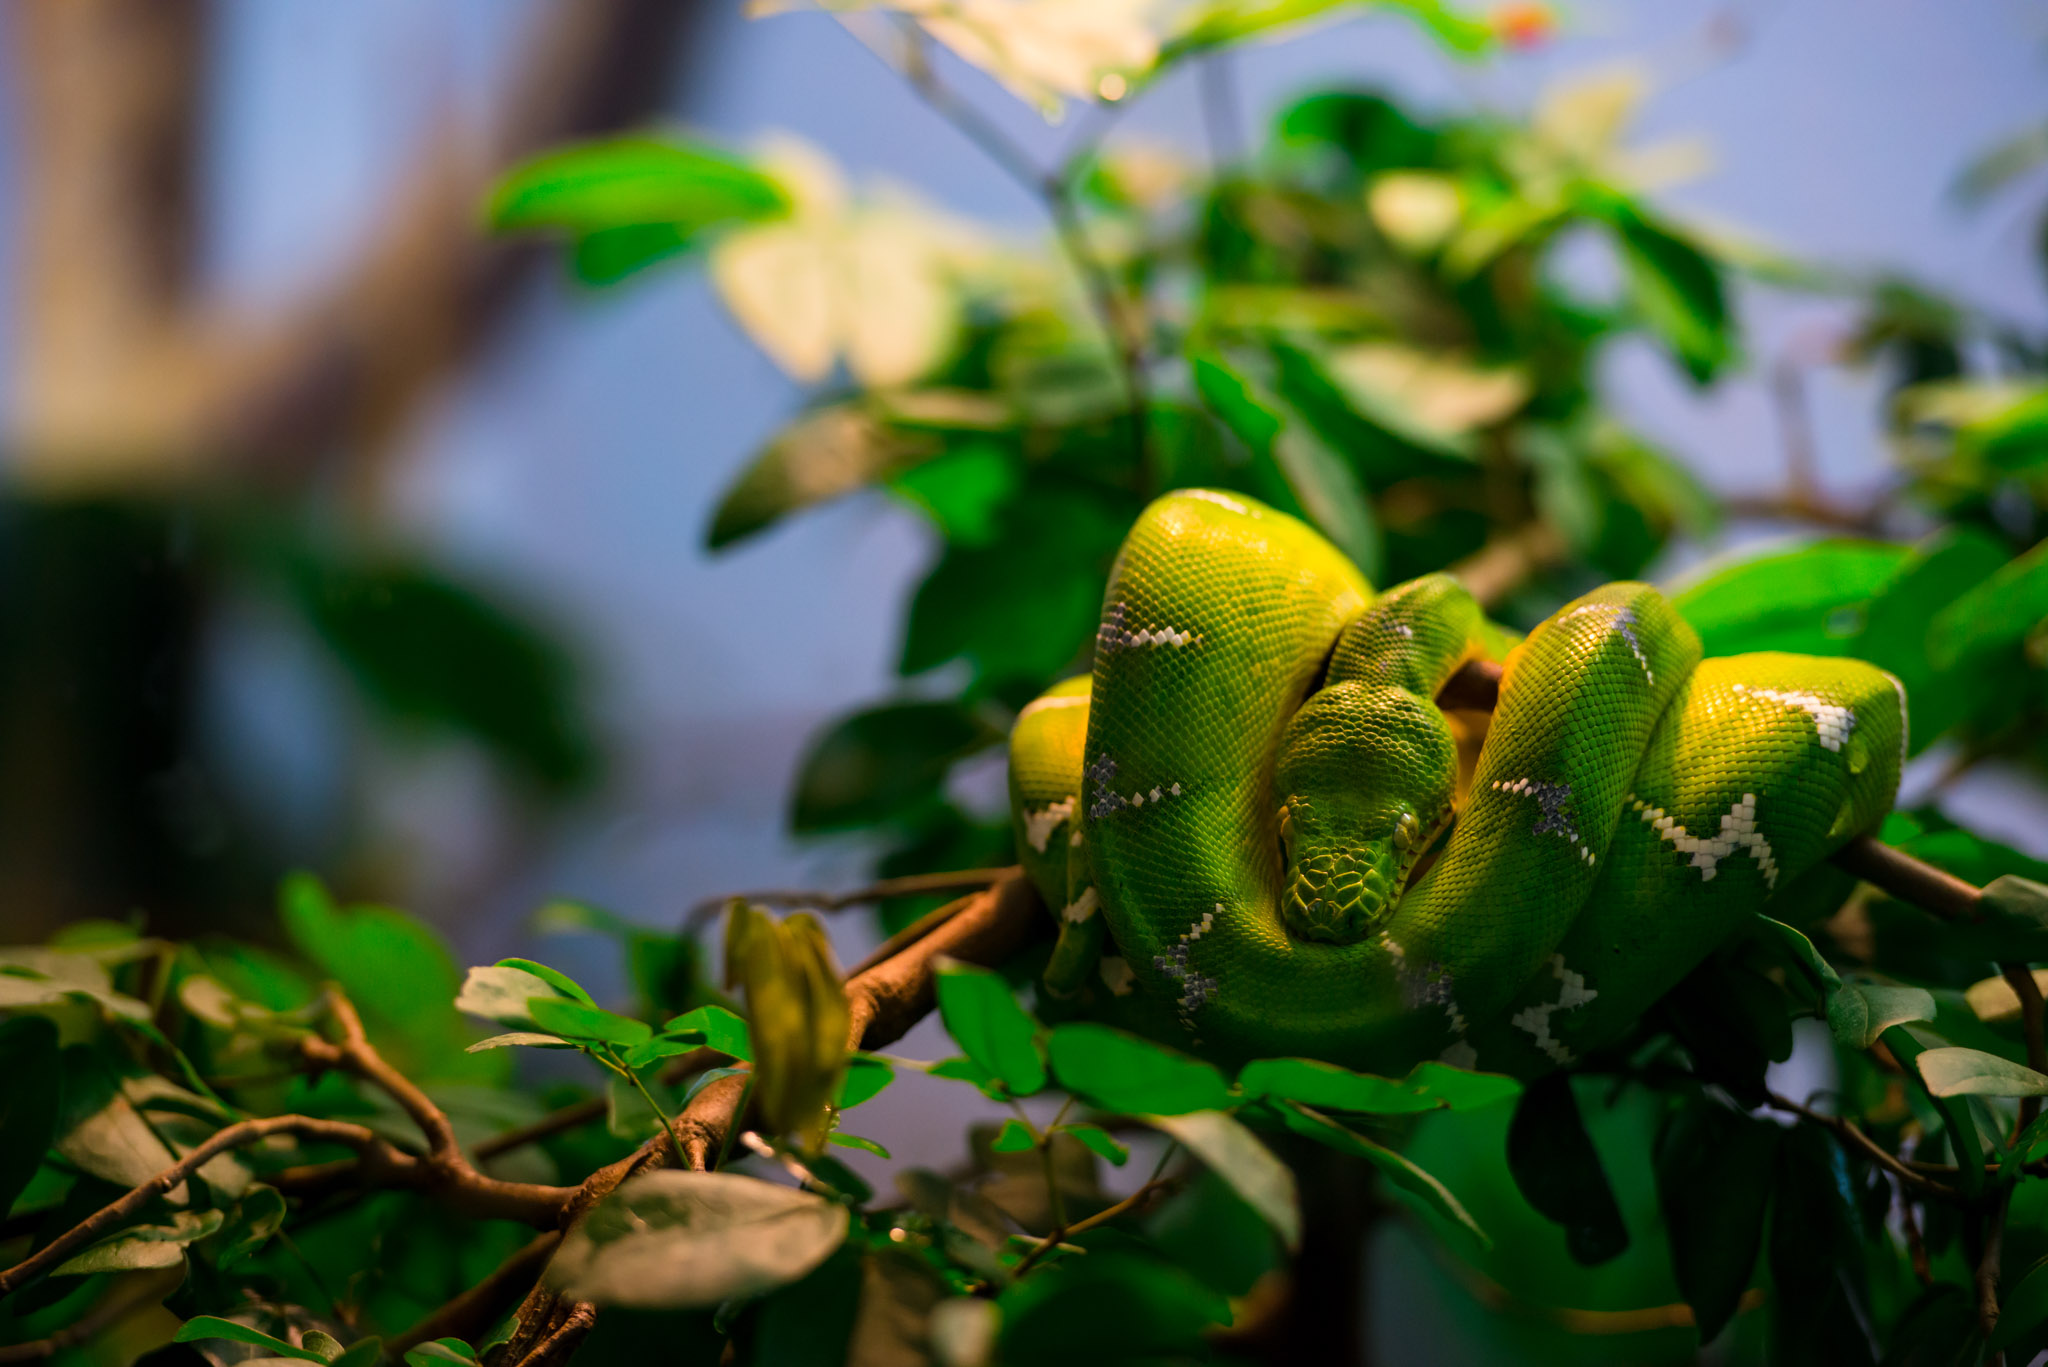
At The Toronto Zoo, all reptiles, most of the birds and some mammals are indoor, in an environment that reproduce their natural ecosystem – well, more or less. To include this element in the picture, I often used a rule of thirds, showing a larger part of the surrounding and telling a more complete story. It’s not anymore about who but also about where and how.
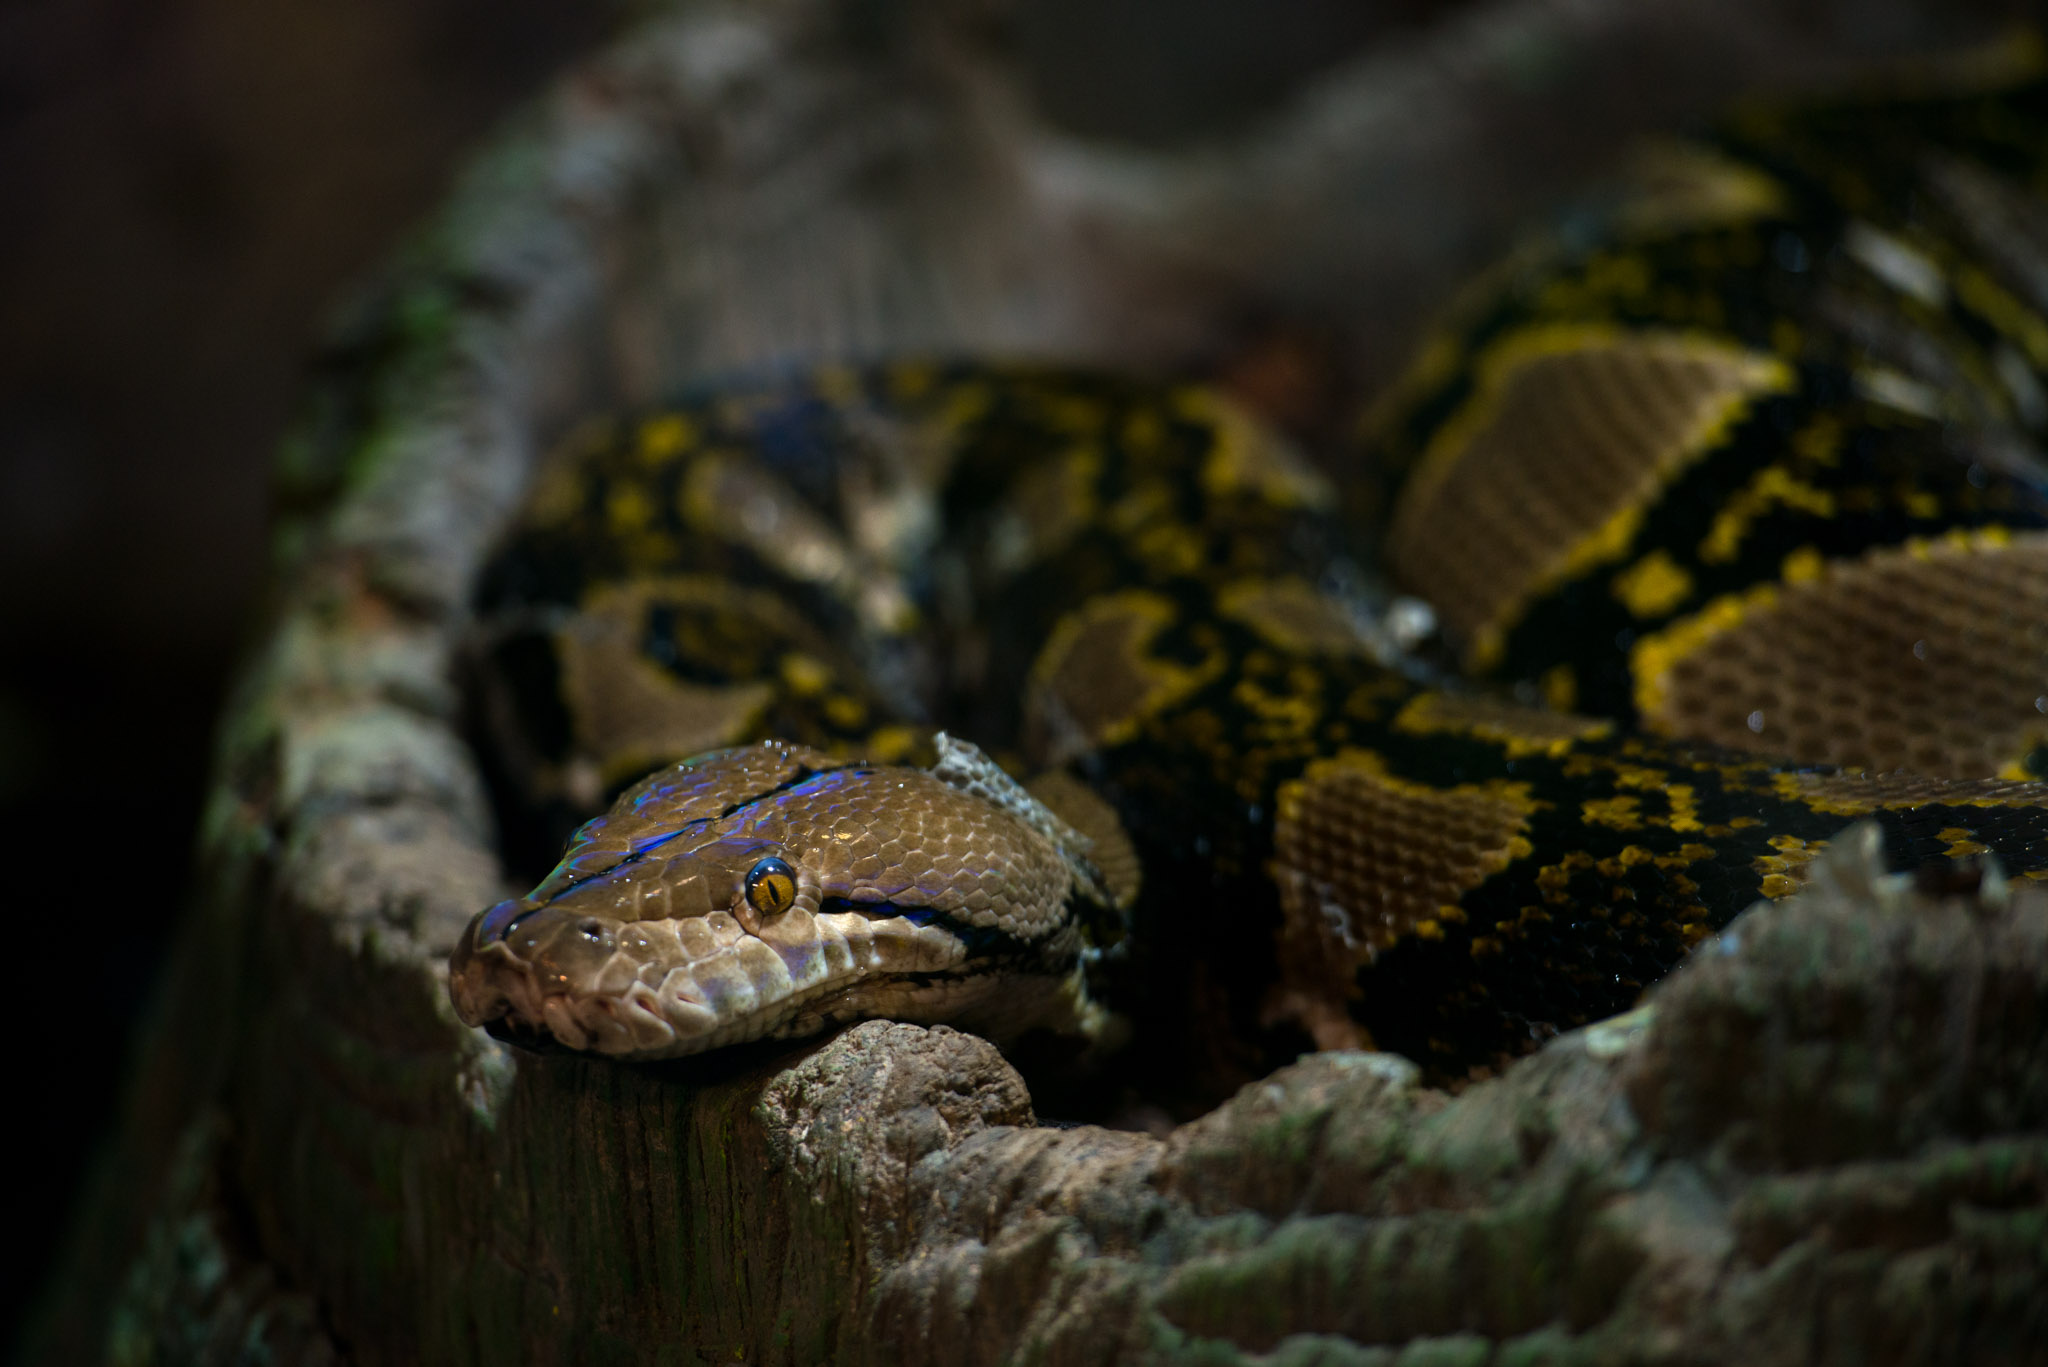
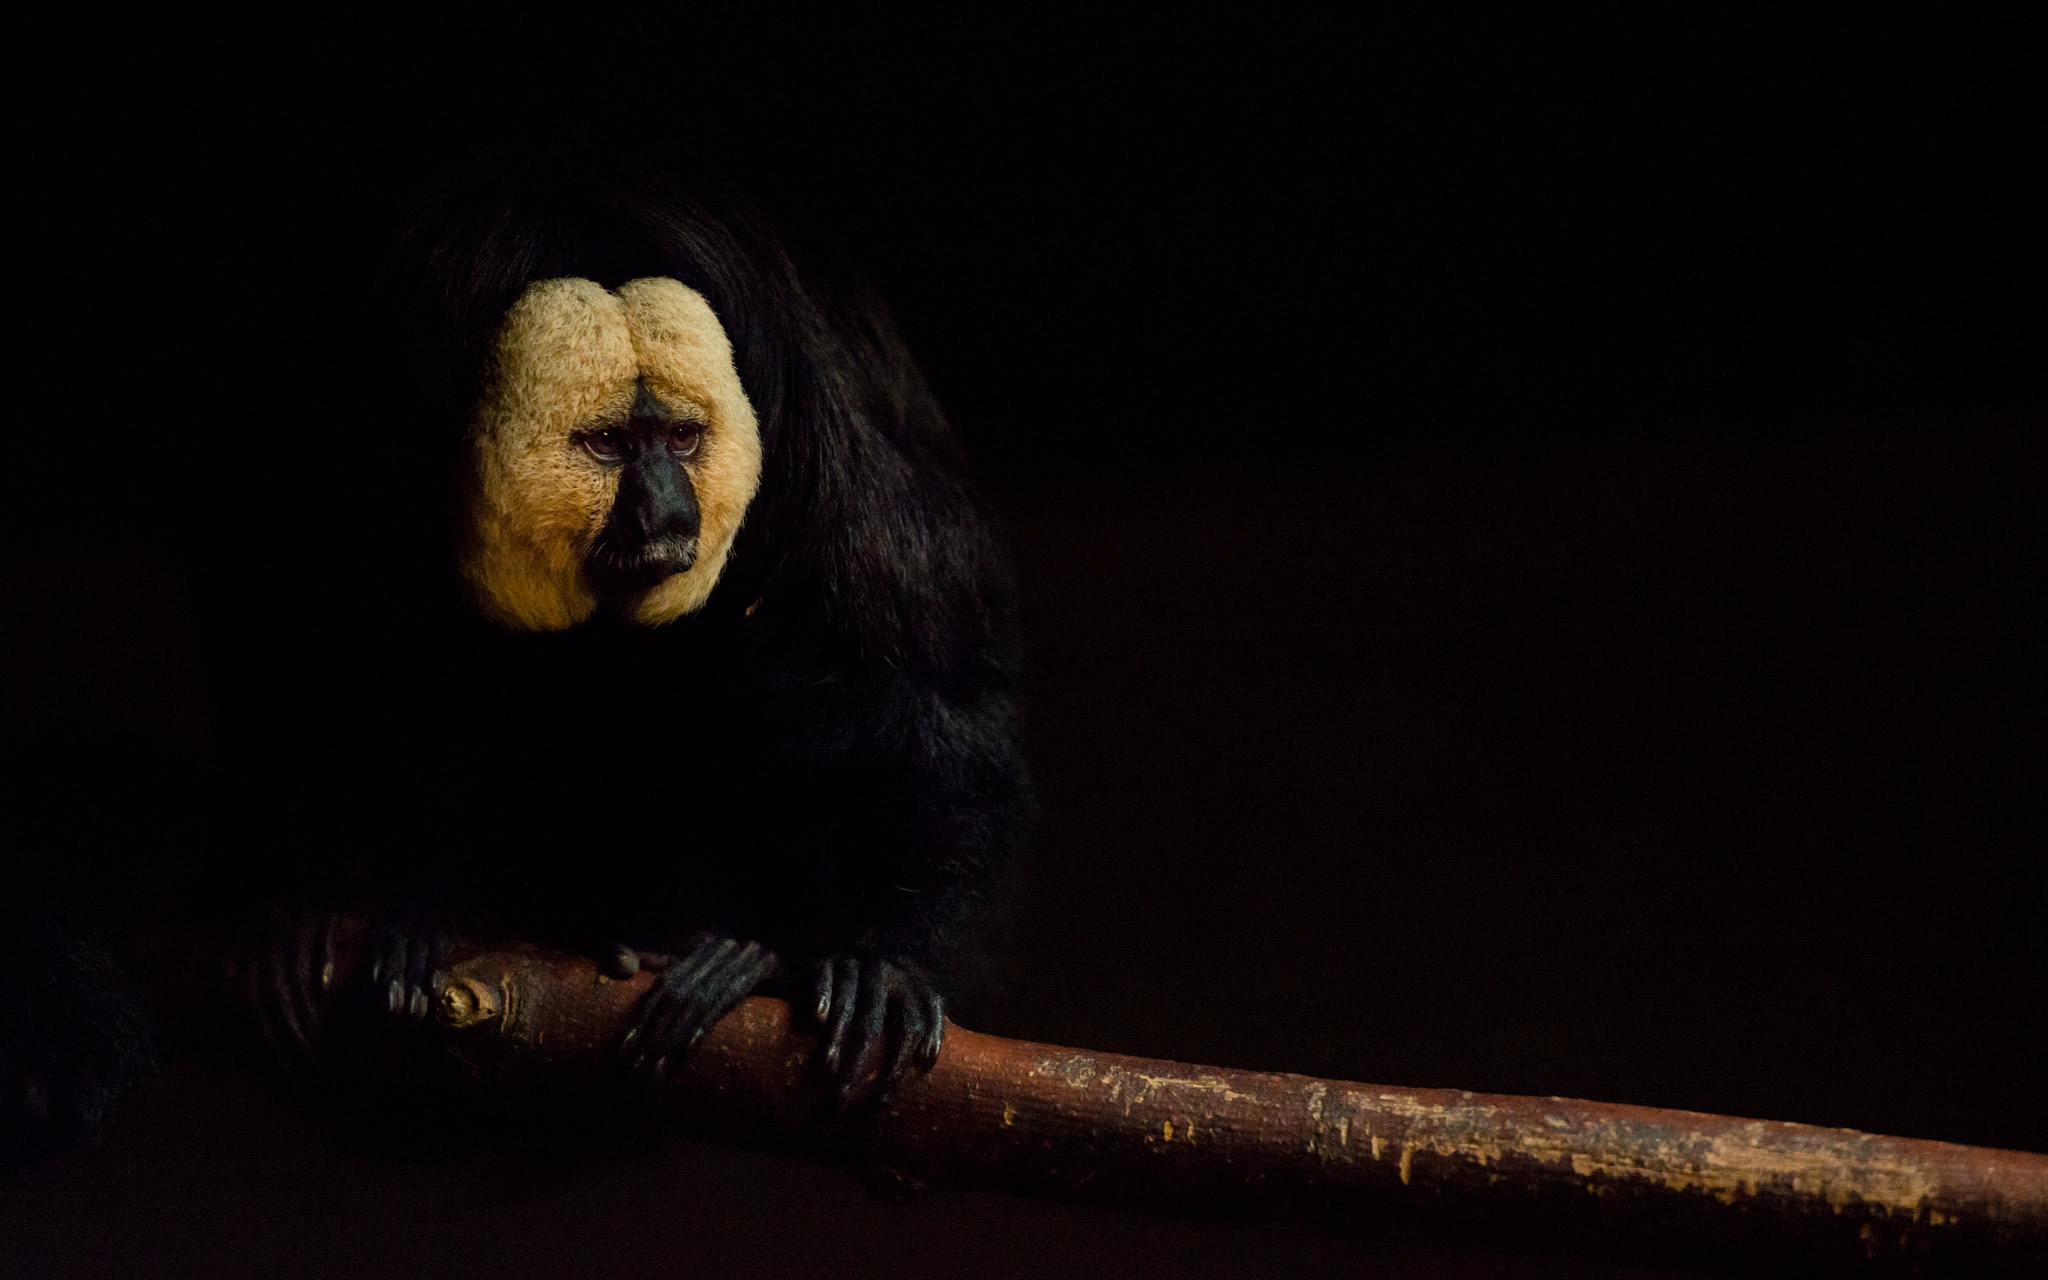
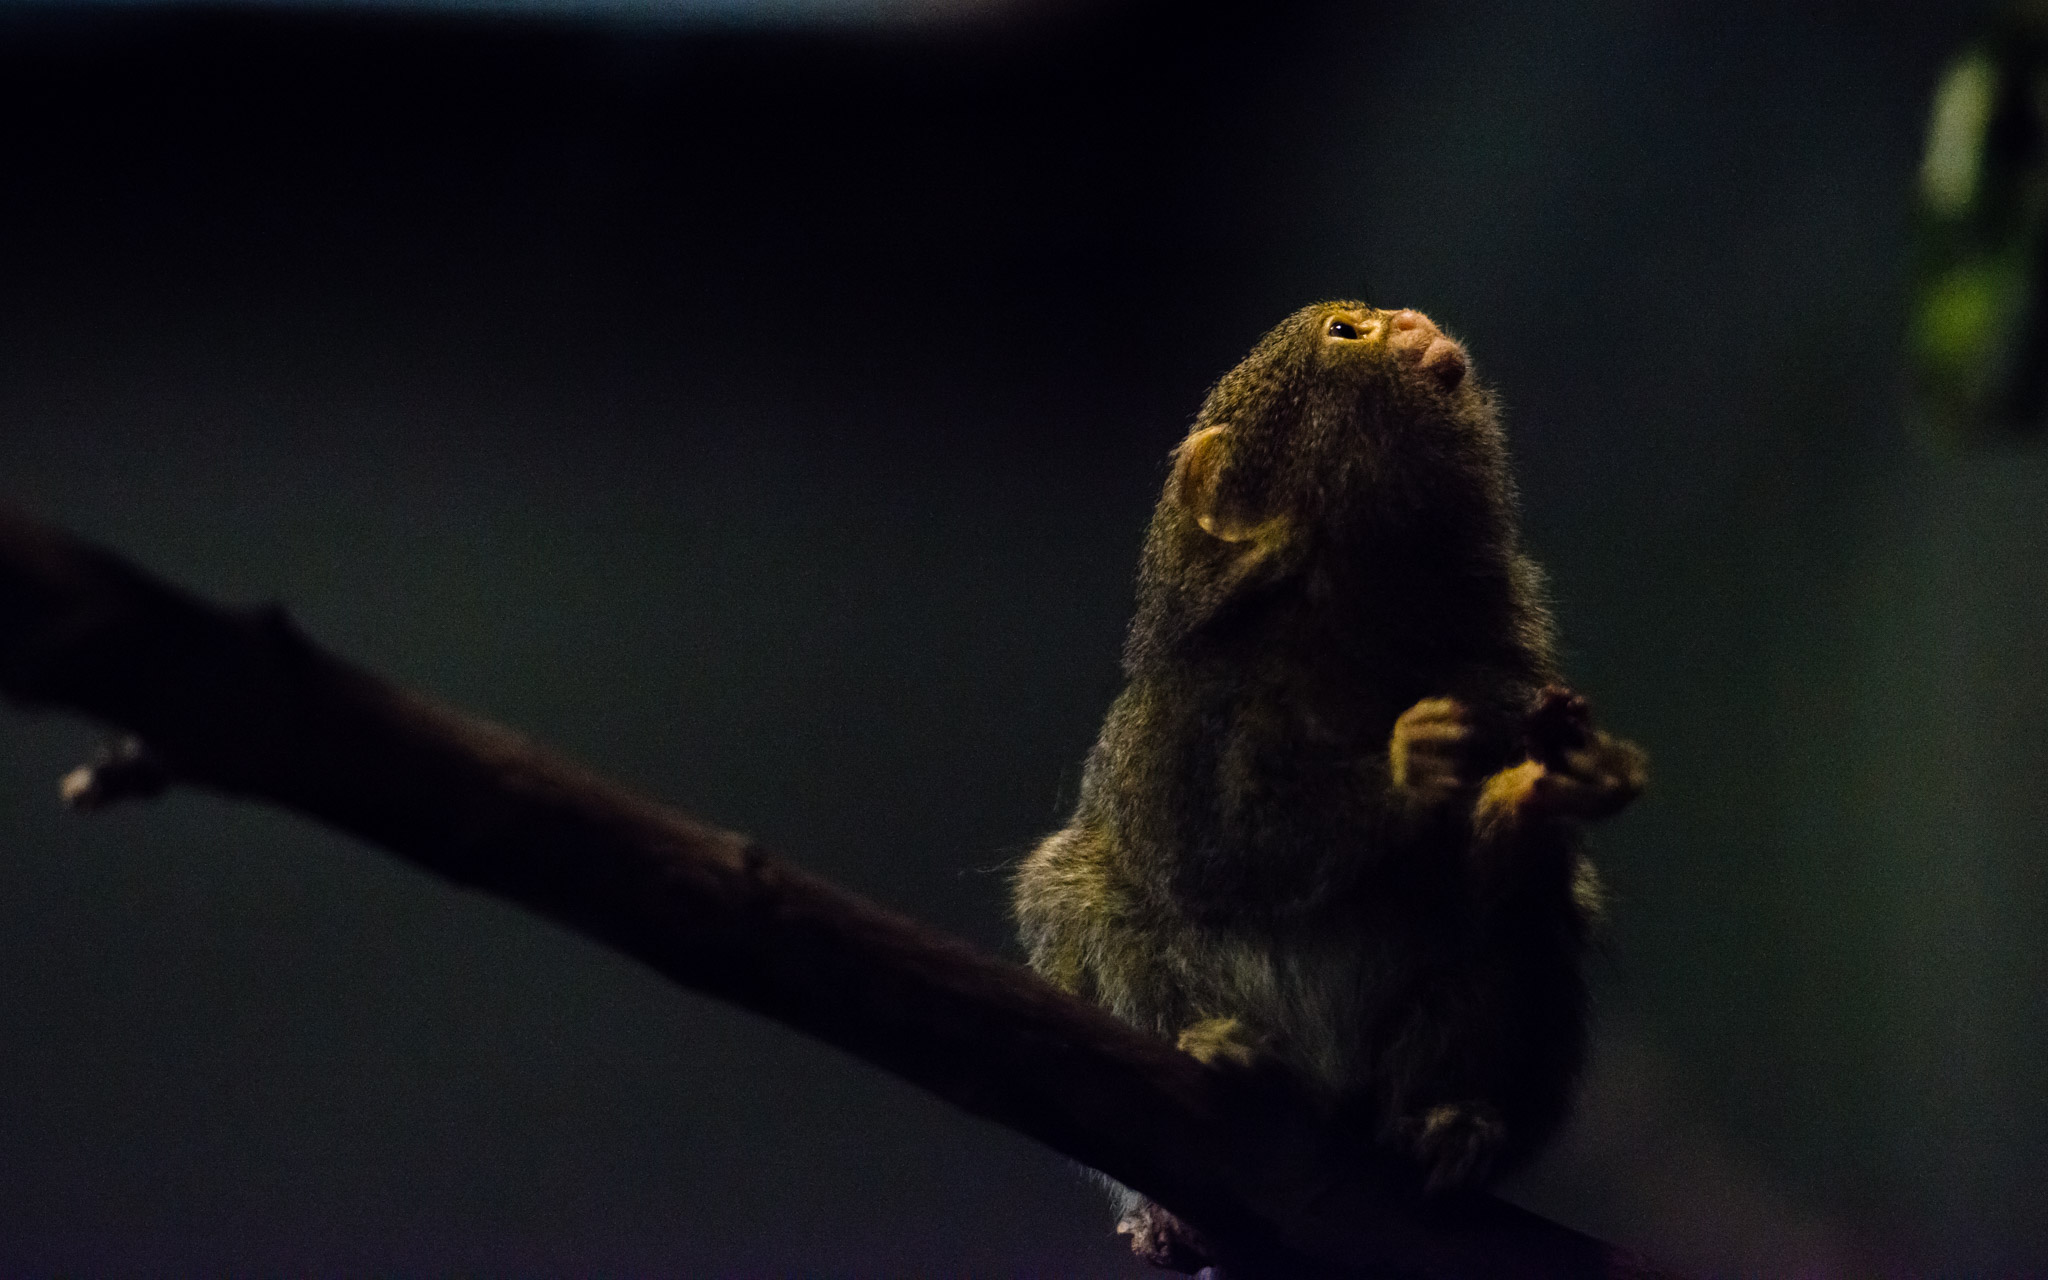
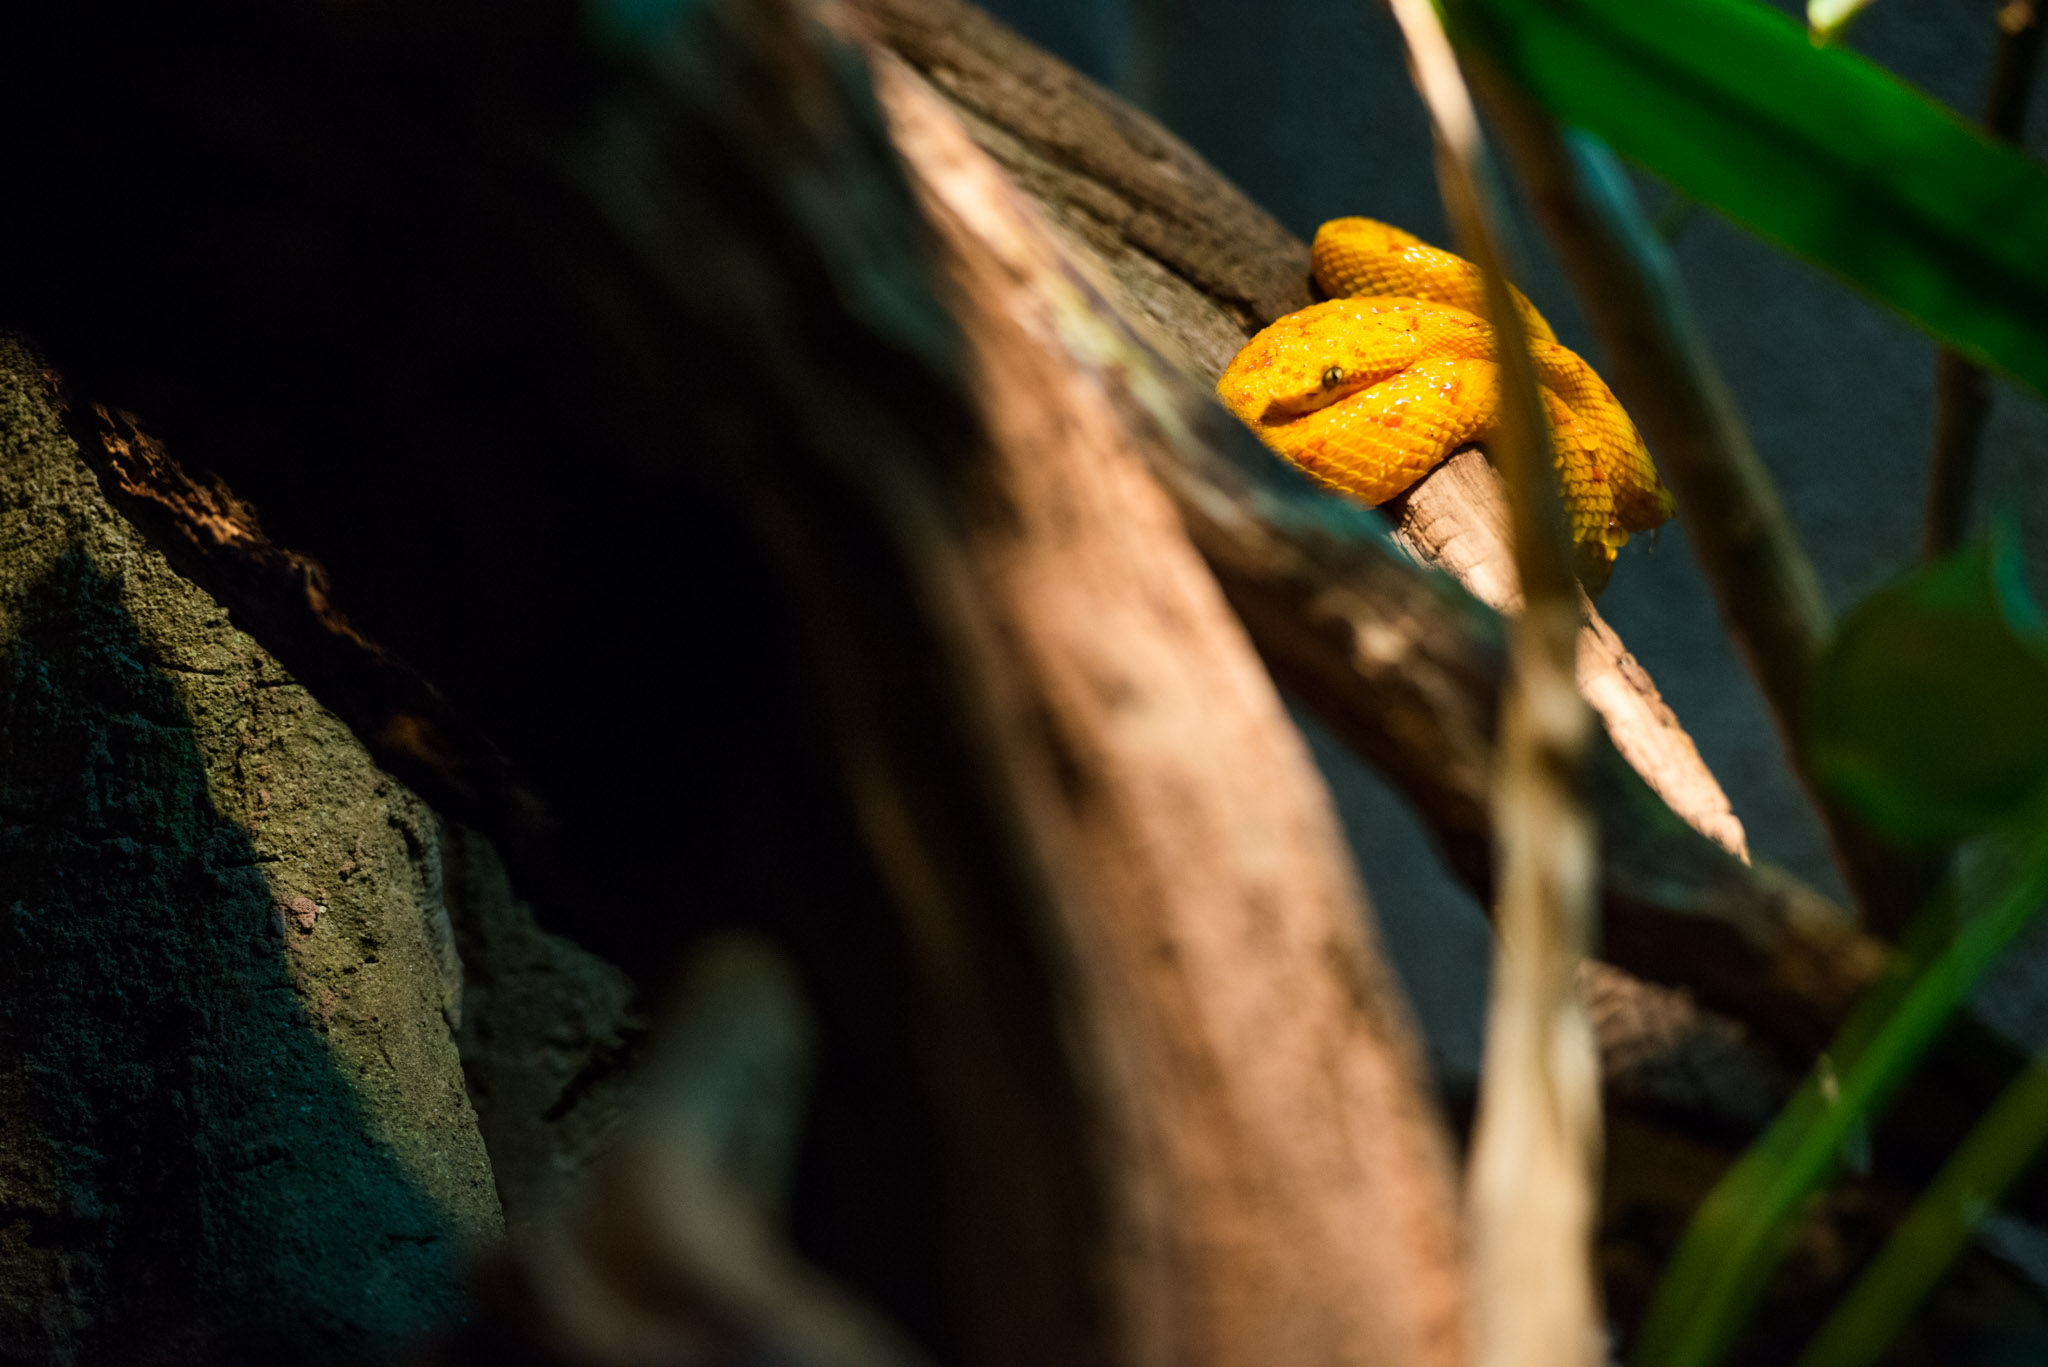
Usually, there are large roof windows, but I’ve seen some monkeys and apes staying almost in the dark. Not cool for them, and not easy for photographers neither. In this situation, I was glad to open up to f/2.8, but it’s not because a lens opens wide that we have to use it at the max, neither because we spent extra money for it.
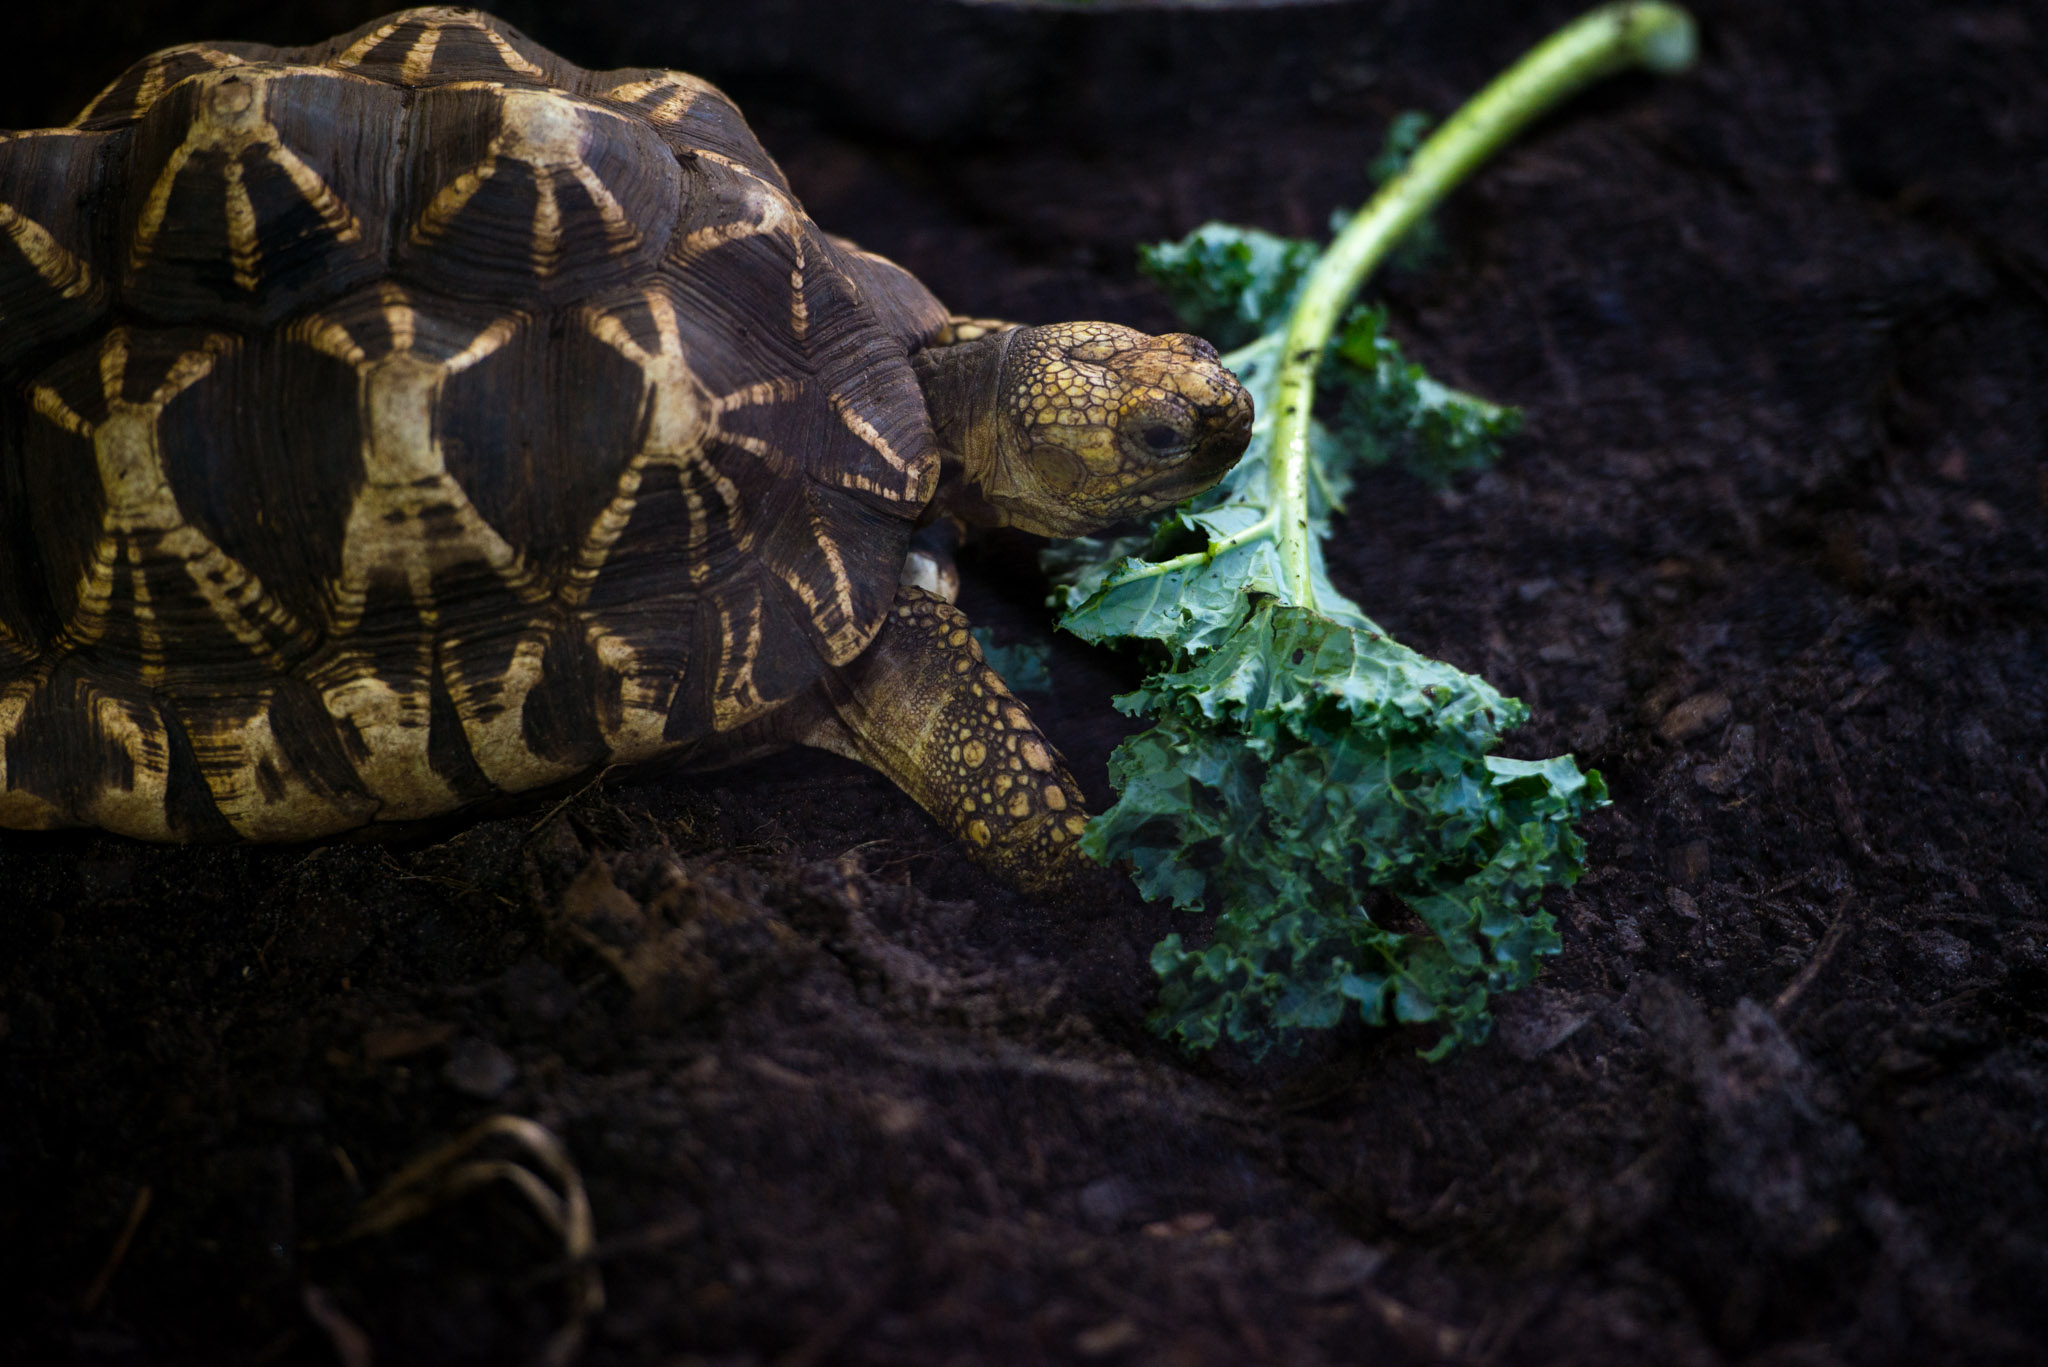
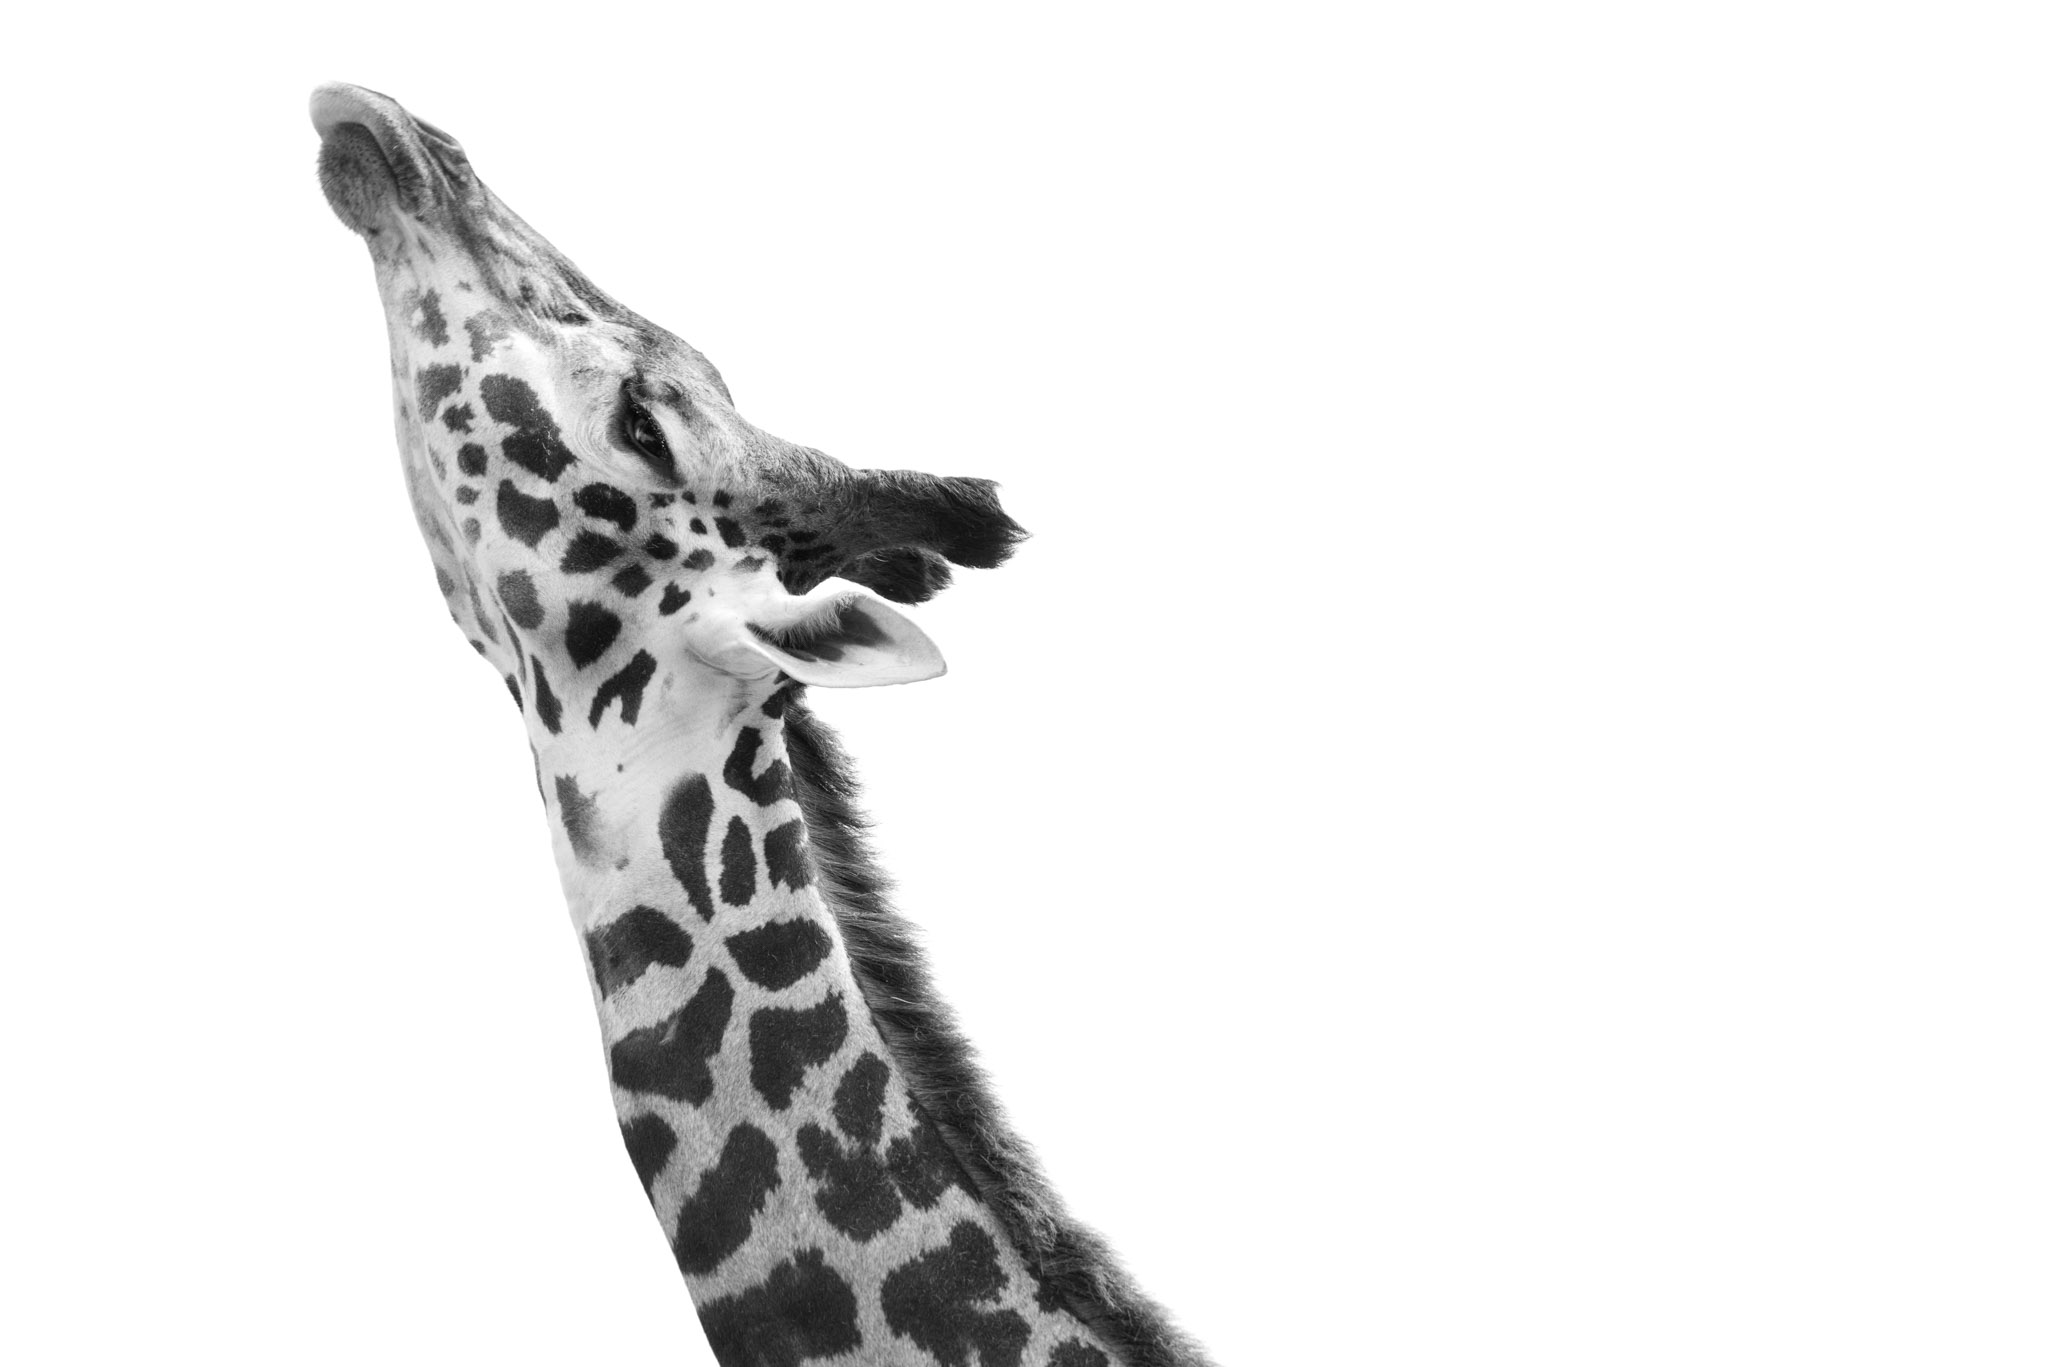
I had to think about the composition at a lower level, focusing on the eyes of course, but what if the depth of field was too short to appreciate the volume of fur or scales? That would be a shame to leave crispy details in a blur! To show more skin texture, I had to close the diaphragm just a bit.
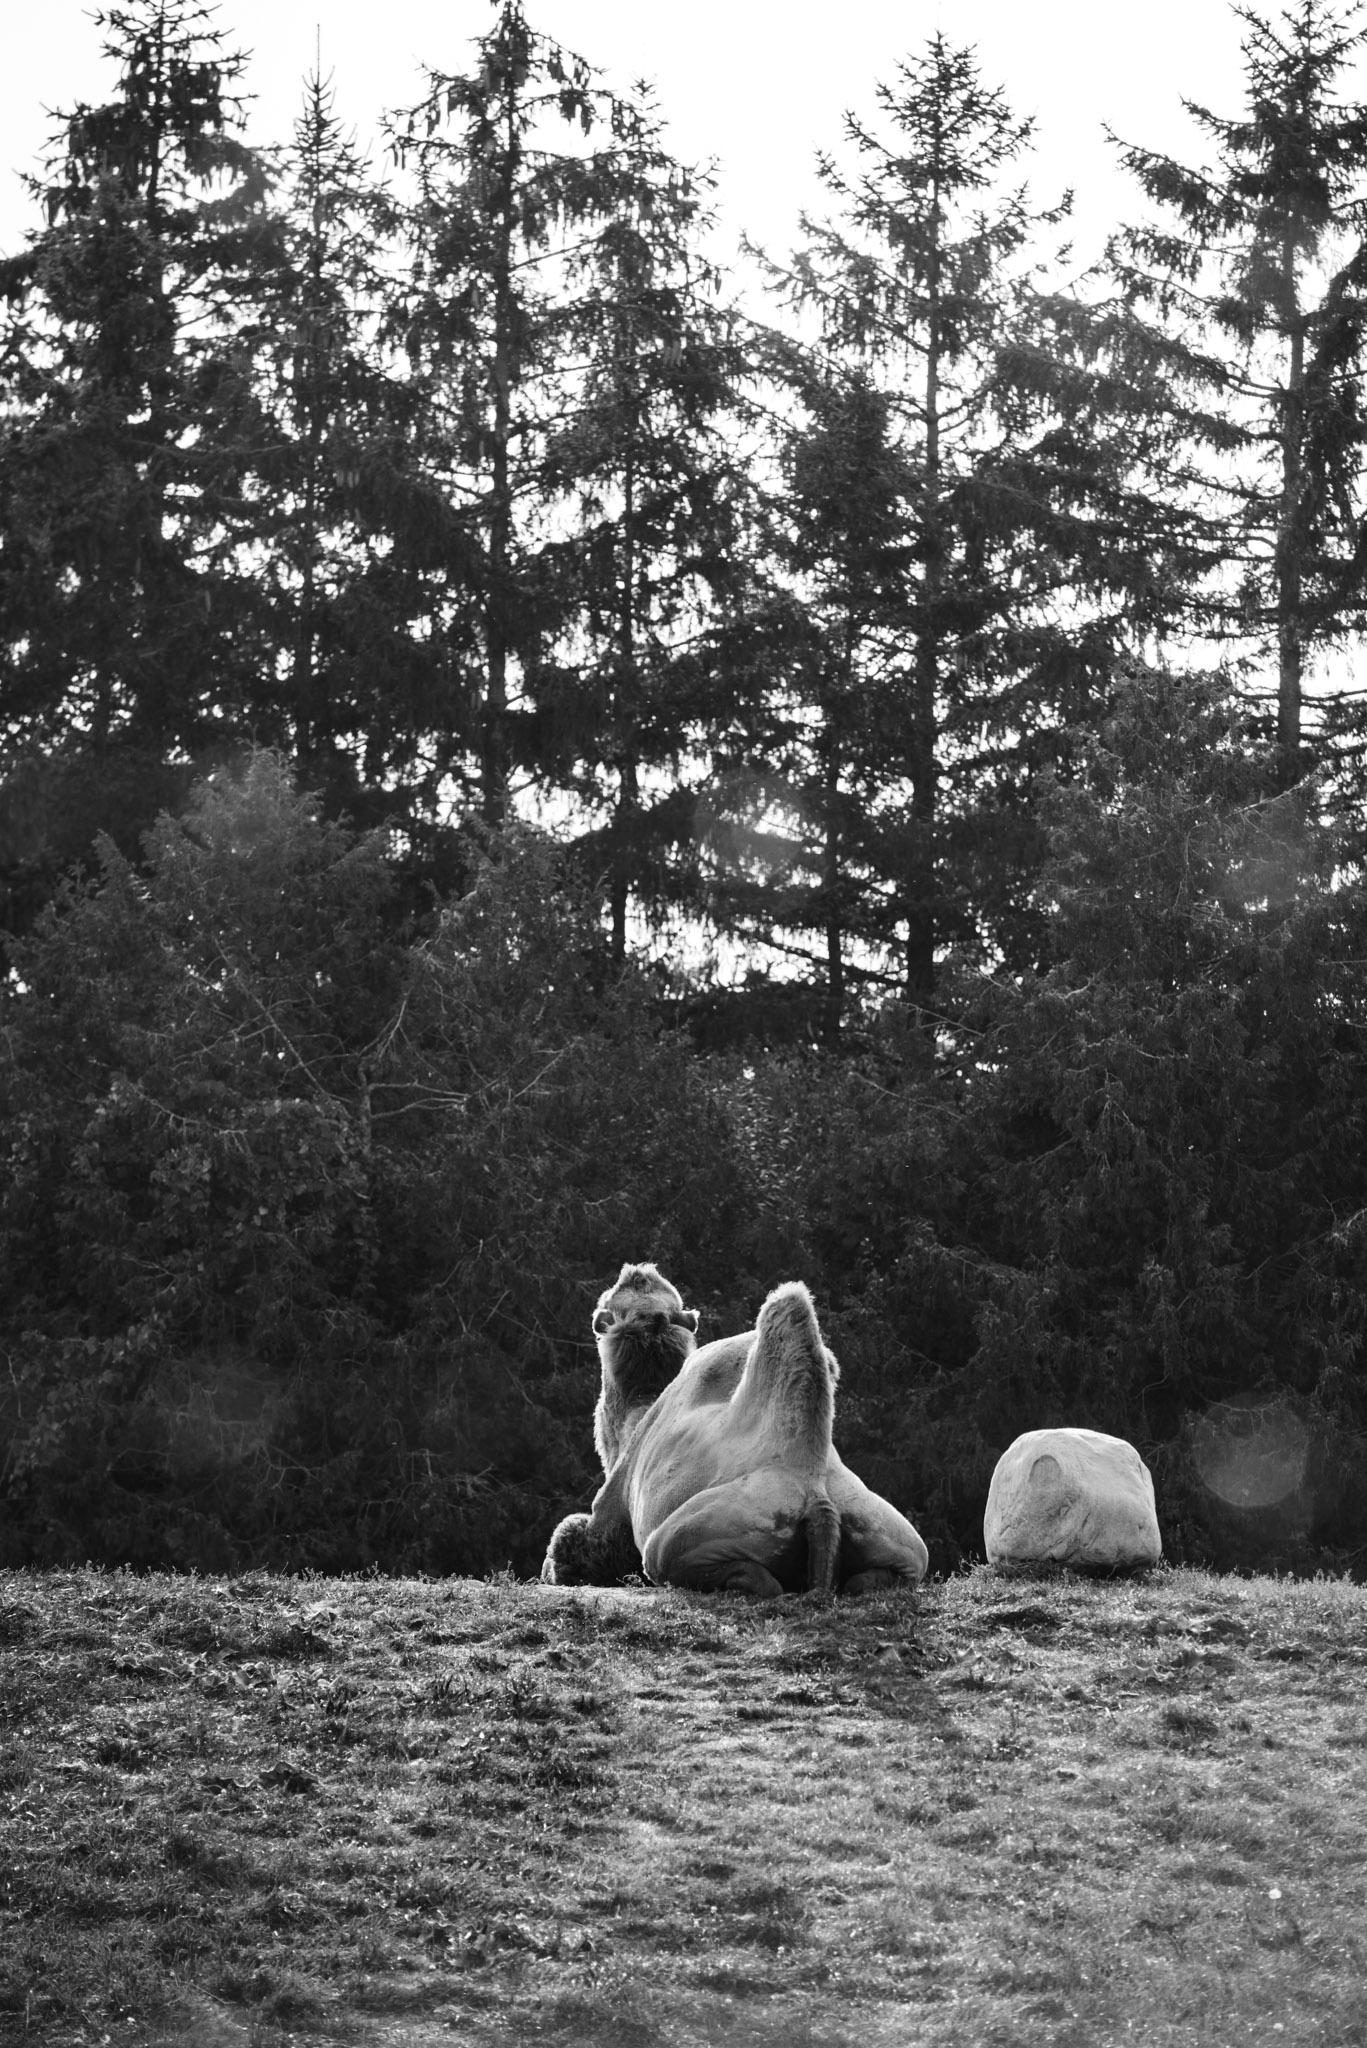
With the classic aperture-speed-ISO compromise, I usually opt for a longer exposure rather than a noisy image. Without any tripod, I had to be steady or my image would be motion-blurred, the kind of issue Photoshop wouldn’t help me with.
With the classic aperture-speed-ISO compromise, I usually opt for a longer exposure rather than a noisy image. Without any tripod, I had to be steady or my image would be motion-blurred, the kind of issue Photoshop wouldn’t help me with.
Most young photographers hold their camera with the left thumb under the lens but it’s not the steadiest way. An efficient way consists in placing the four fingers under the lens, then the thumb comes naturally at the left of it. By lowering the left elbow and placing it against the left ribs, the forearm is in a vertical position and is able to carry more weight. I use this method with heavy lenses, it increases the stabilization and allow me to shoot at a lower speed, like in low-light conditions. This is even more important for longer focal length because camera shakings produce an angular motion, so, the longer the lens, the bigger the blur. In any case, keep in mind sometimes it’s just easier to get physically closer.